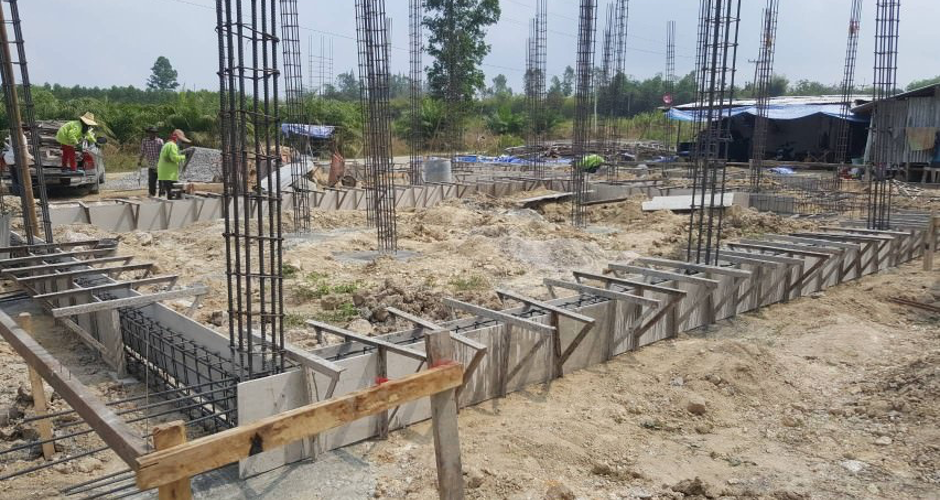
Once all the connecting rebar was placed between the columns it was time to start concreting the connecting beams.
Shuttering
Wooden formers were placed under and at each side of the rebar cage, and secured with purpose-build clamps. The shutter was then checked for alignment and integrity – we did not want any concrete leaking out of a joint or worse…bursting the shutter and spilling all the concrete.
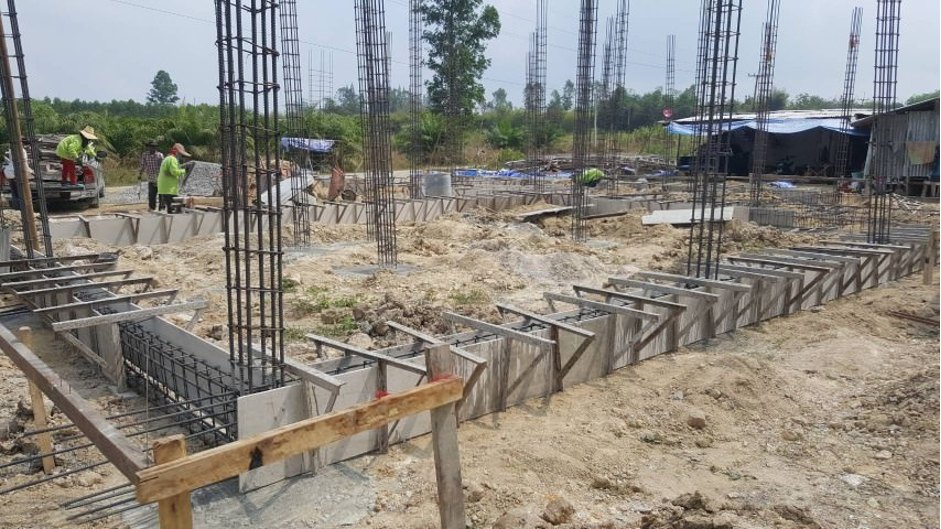
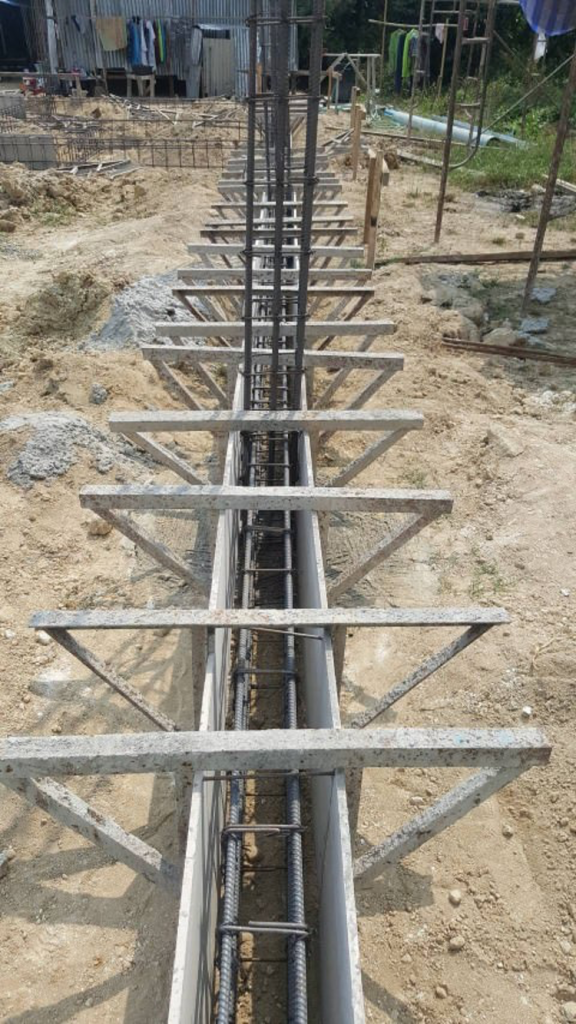
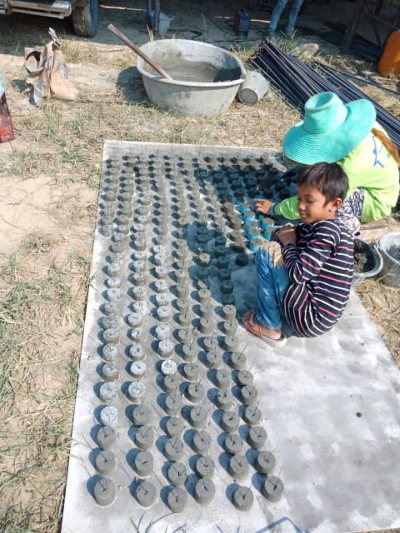
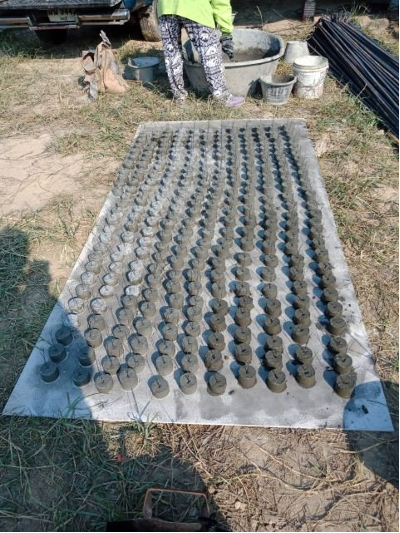
Spacers were then fitted to the cage sides and base to ensure 100% of the steel rebar would be encased in the concrete once it had hardened. This was to prevent water getting to bare metal and corroding it, with potential structural failure somewhere down the line.
Casting
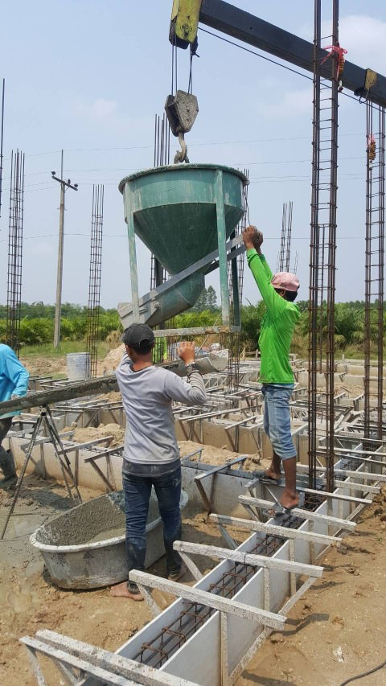
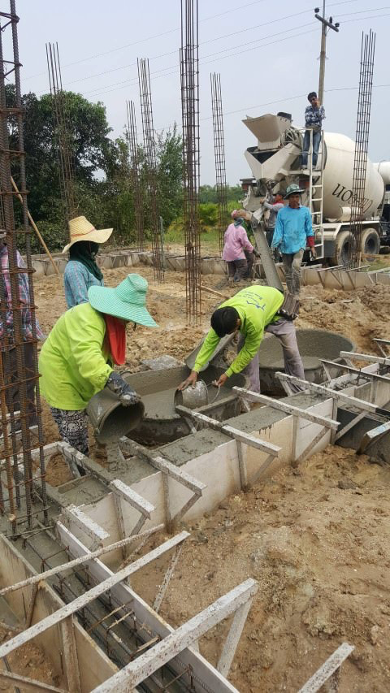
No…we’re not fishing, we are concreting! With the shutter placed and checked, all was ready for the concrete. Concrete was supplied externally and was cast using the concrete mixer and a concrete skip that K.Pot had, to go with his crane. Some hand-mixed concrete was used to finish off the beams as well.
After the concrete started to pour into the shutter and around the rebar cage, a vibrator was used to settle the concrete. This was to remove and air bubbles or air-locks anywhere in the beam – obviously they would be a potential weak spot if left.

