Striking the ring beam shutter

Building foundations

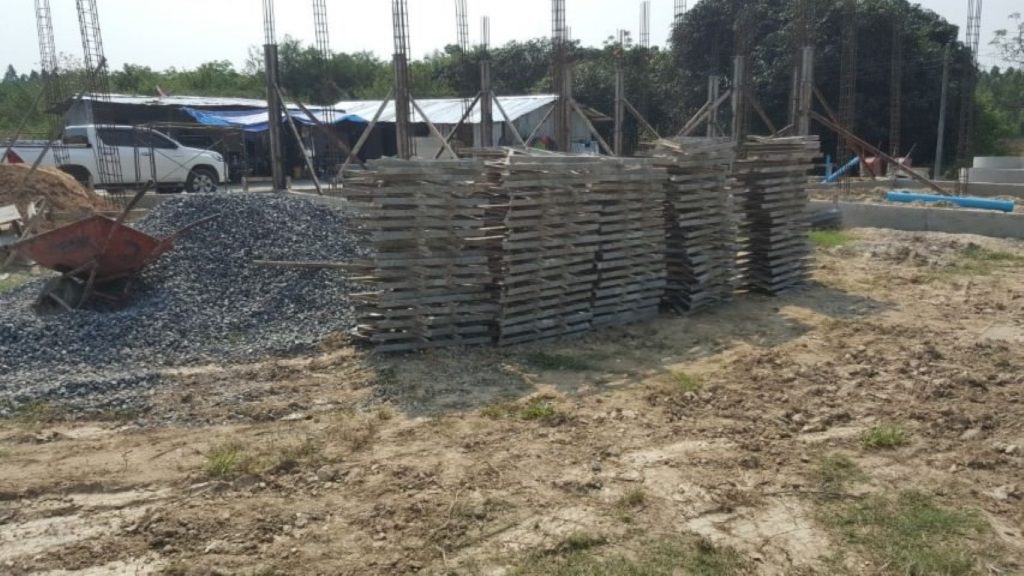
So, after the shutters were placed, the concrete poured and then left to harden, the next stage was removing those shutters.

It is crucial to leave the shutters on while the concrete goes off, or hardens. As stated before, concrete hardening is a chemical process, not a ‘drying out’ – the longer, within reason, you keep it wetted down, the harder it will become. Wetted down does not mean ‘keep it in liquid form, it means keep the hardening concrete damp this is aided , especially with columns, by wrapping those columns in plastic, once the formwork is removed.

This is not necessary with the ring beam – just remove (strike) the shutters once the concrete has hardened, and wash the beam down with water.

The team arrived bright and early to strike the shutters. K.Dee, the foreman had the team organised and everyone knew what to do.

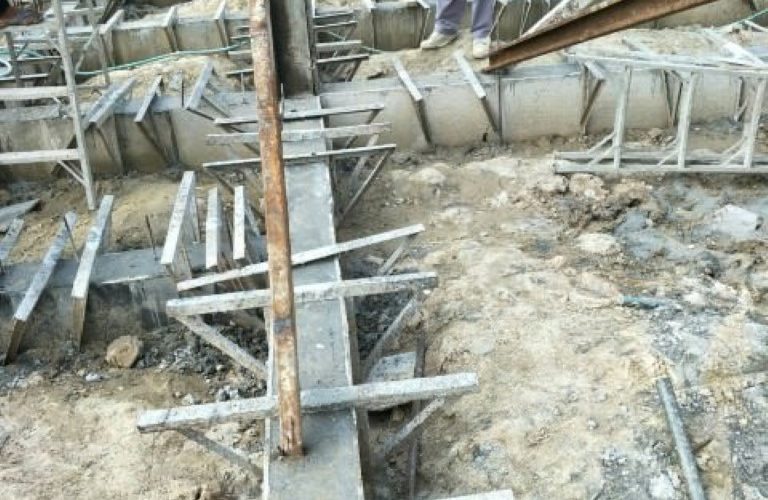
Firstly, a final check that it was ‘time’ to remove the shutters. Once completed, the next stage was the removal of the clamps holding the shuttering boards in place. Now, only the adhesion between the poured concrete, now in beam form, and the shuttering boards themselves were keeping those boards in place.

Before the concrete was poured, K.Dee had used a shutter release agent, a spray oil to make sure the shutters would come away cleanly. It is possible to apply the oil using a brush but it takes longer, and even using old engine or cooking oil – again, not the recommended option but some builders will use anything no matter how unsuitable , just to save a few dollars!

Now came the striking. It is said the word came from the action of hitting, or striking the top of the shutter (not the side) with a small hammer to break any residual bond from the treated shutter board. If it went to plan, the shutter board should just fall away, leaving a smooth surface on the cast concrete.

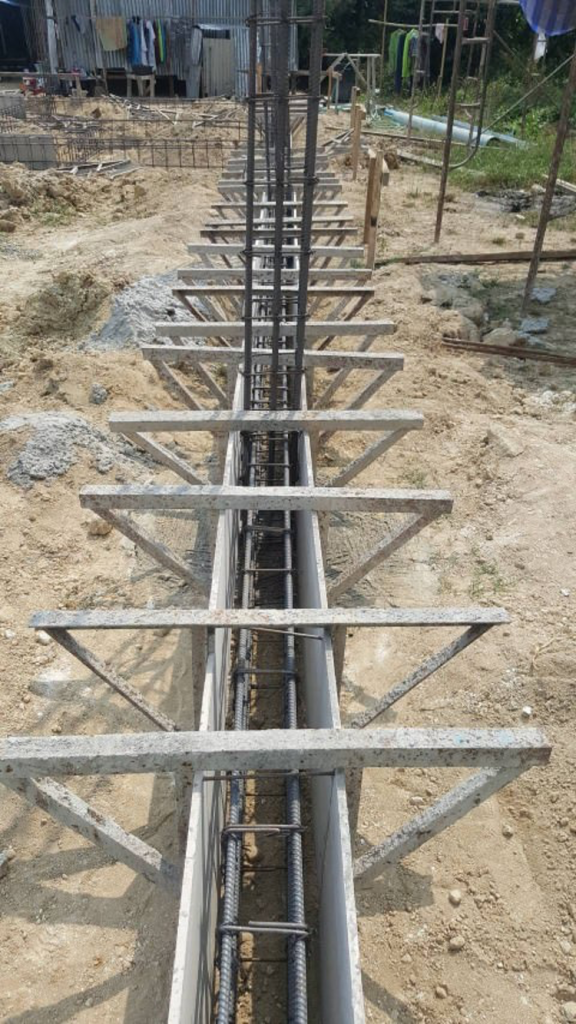
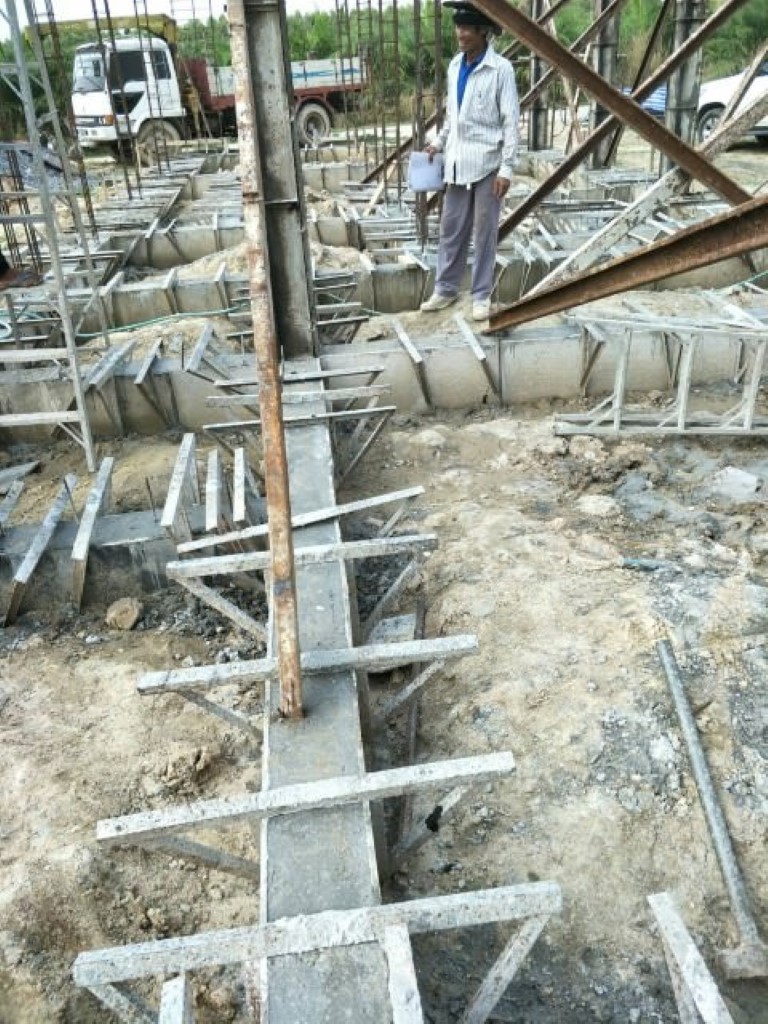
So it was with our ring beam. The team worked round the shutter boards, removing them. Some needed that tap with the hammer, some just fell away when the clamp were removed.

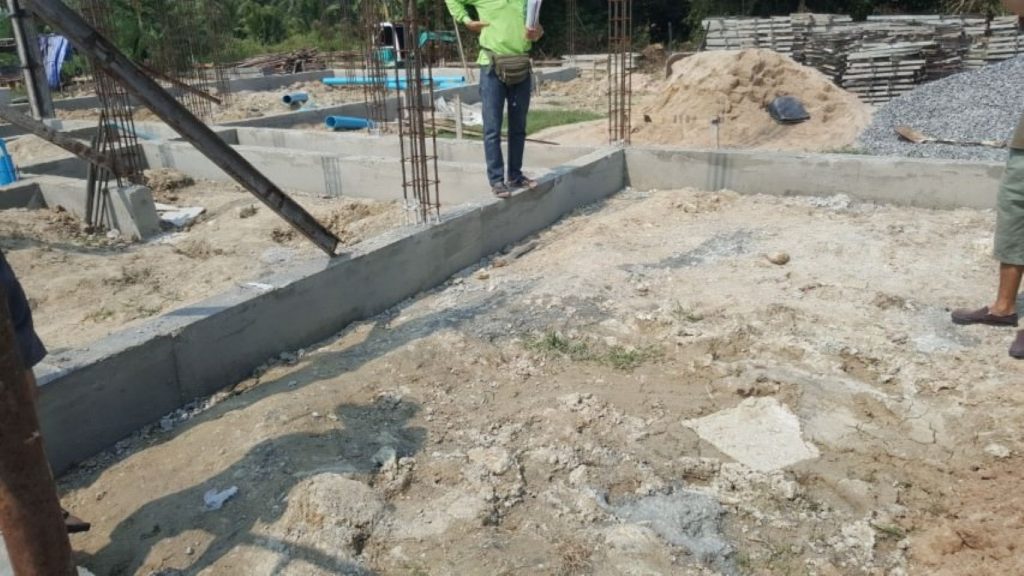
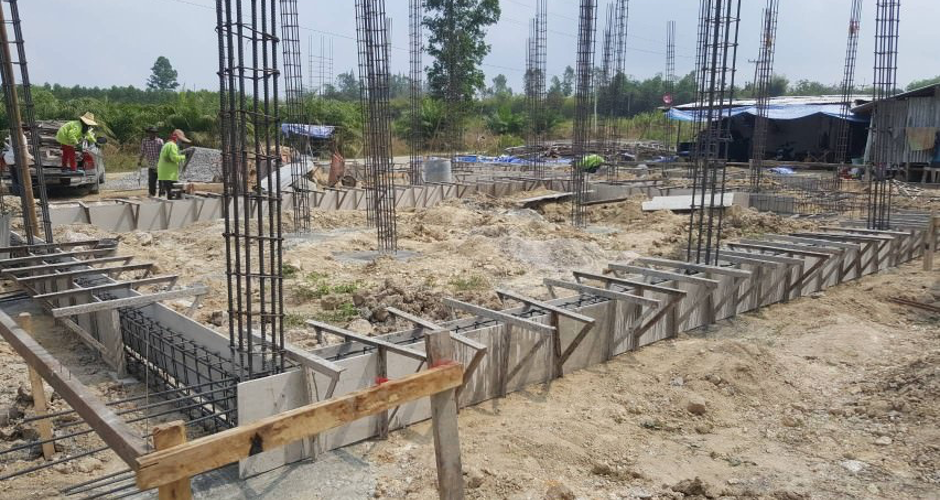
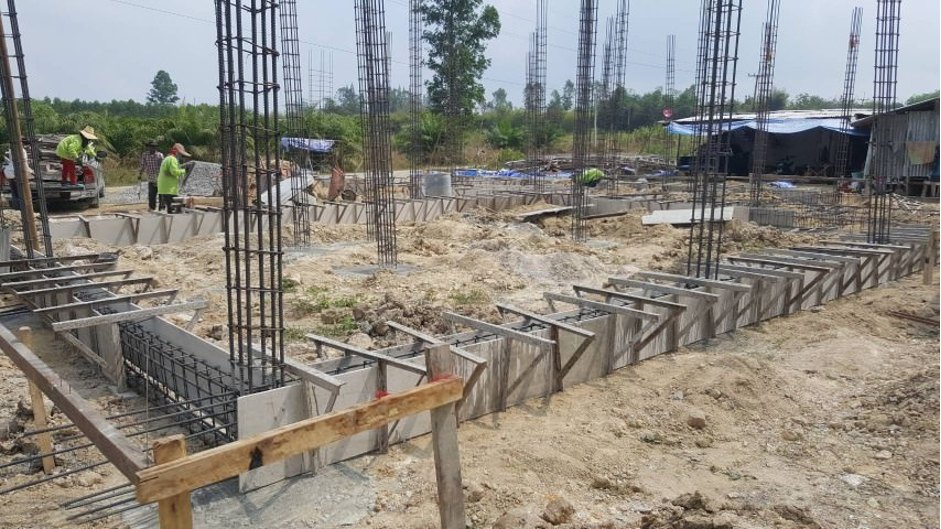
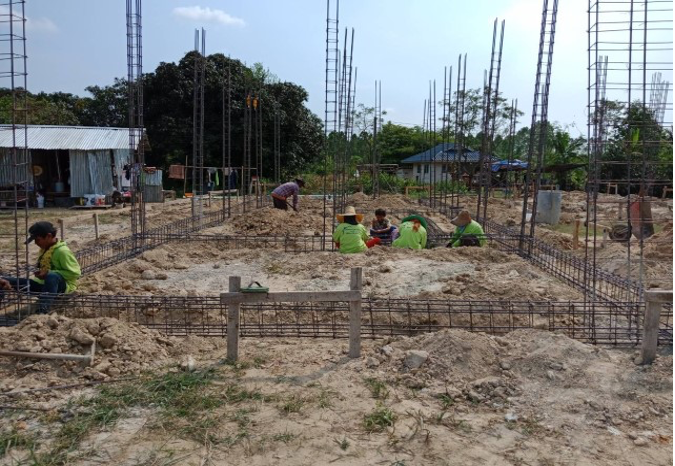
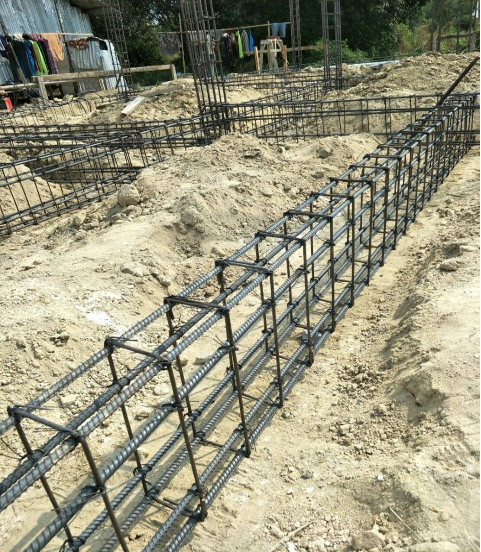
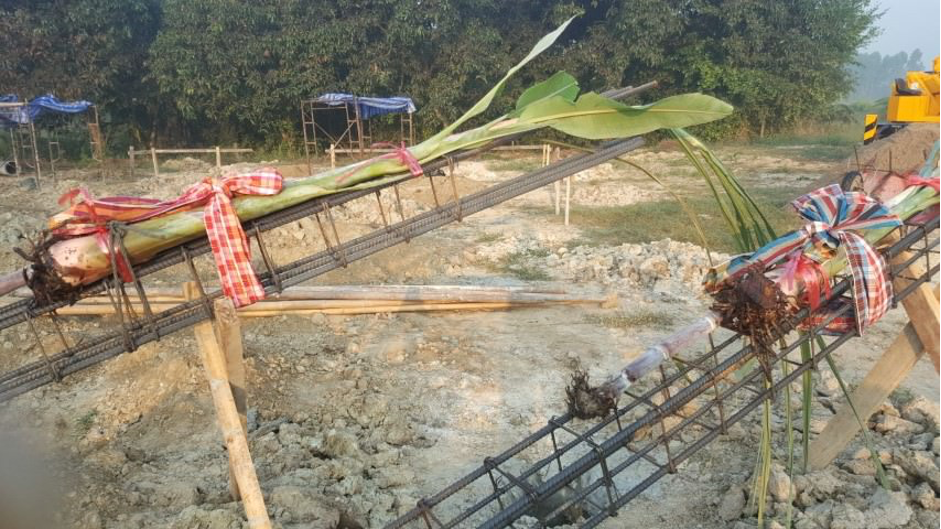
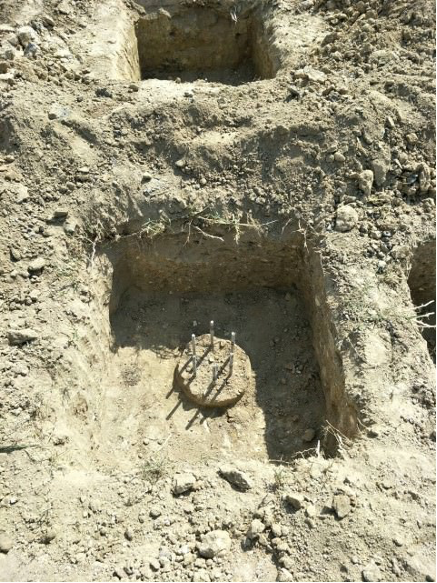
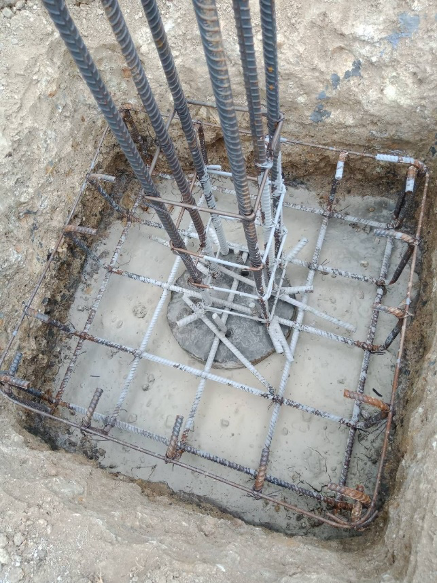
We ended up with a complex ring beam, and all ground floor cross-members making up the foundation design for the ground floor, and all sitting on the piles, that were described in an earlier post.

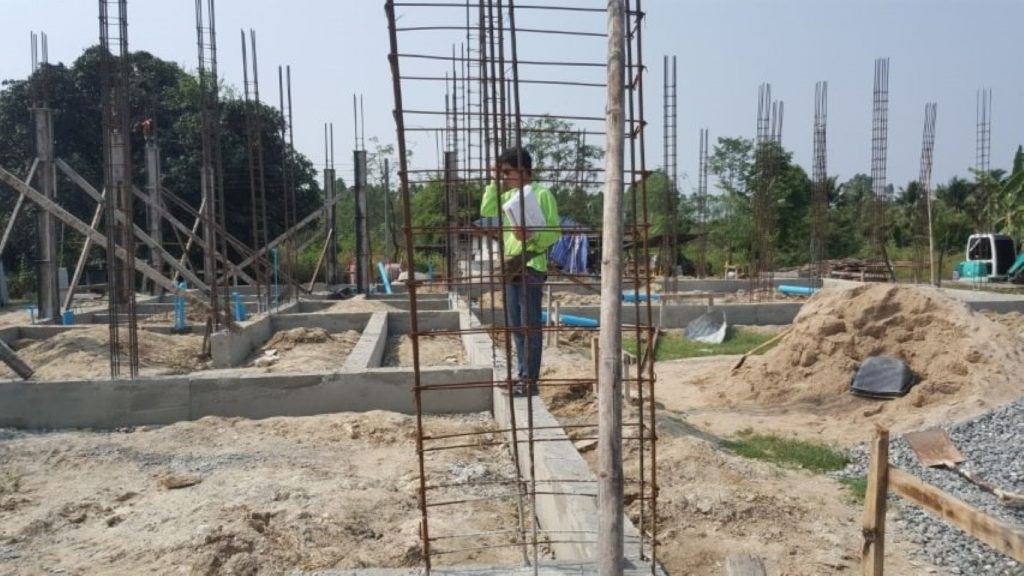
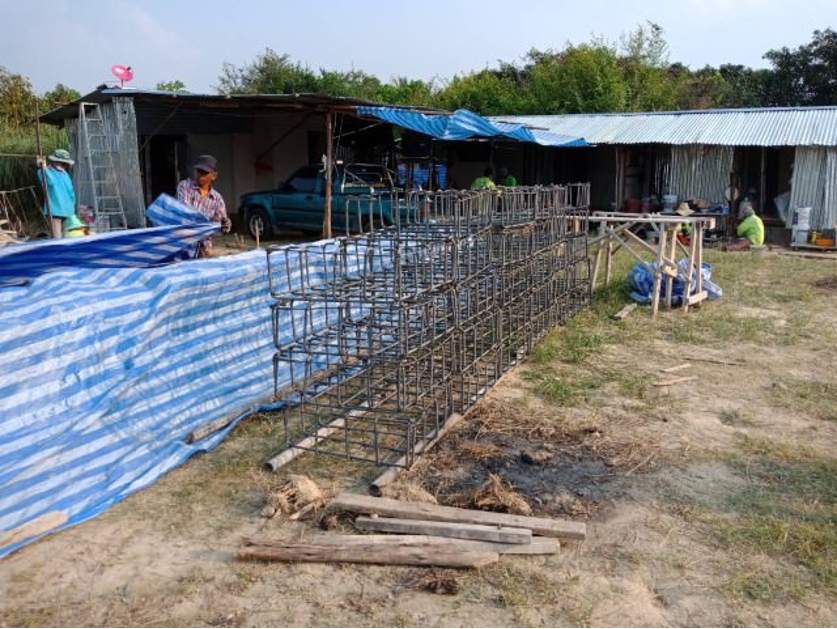
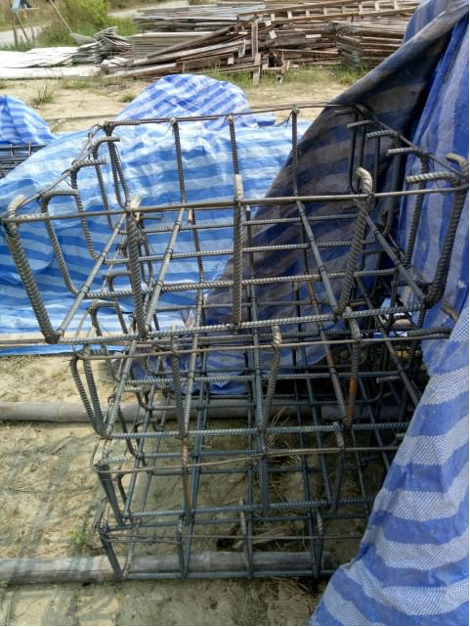
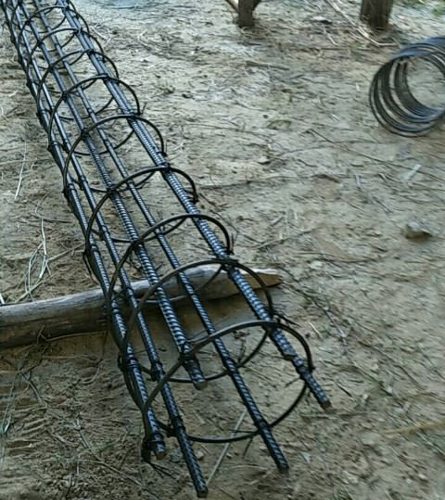
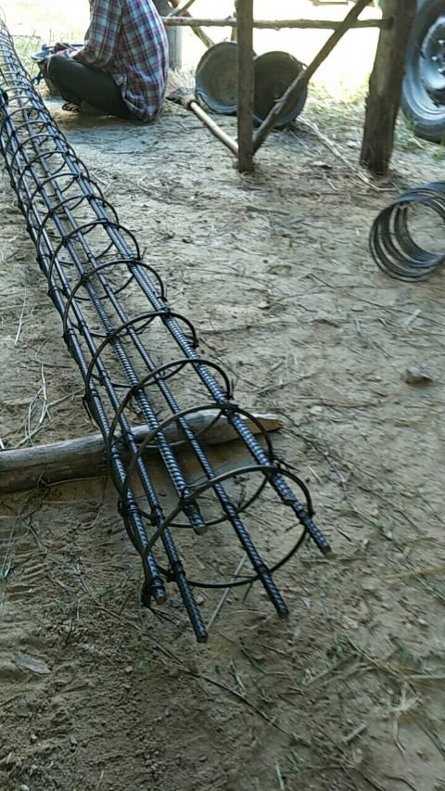
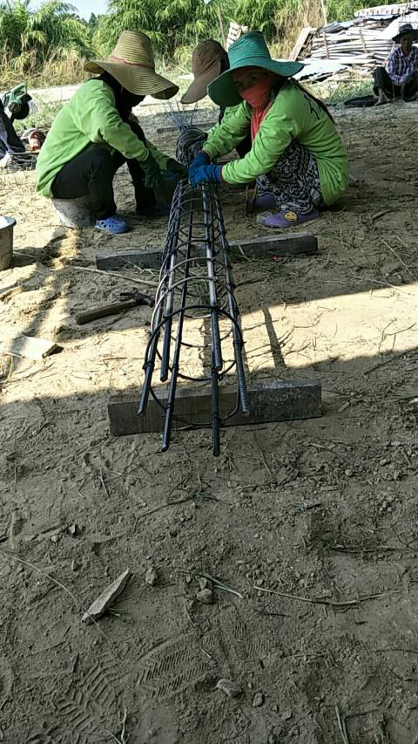
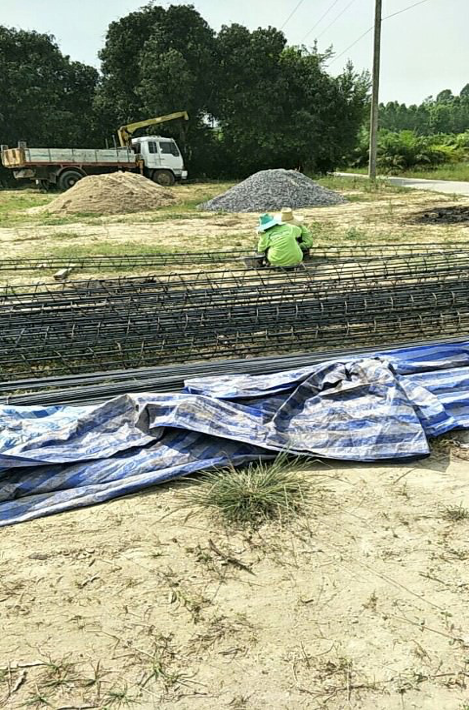
Growing out and up from this cast foundation were the rebar cages that were needed to form the ground floor uprights.., details for that are in an upcoming post in another post.

Plinth beam Shuttering and casting

Building foundations

Once all the connecting rebar was placed between the columns it was time to start concreting the connecting beams.

Shuttering

Wooden formers were placed under and at each side of the rebar cage, and secured with purpose-build clamps. The shutter was then checked for alignment and integrity – we did not want any concrete leaking out of a joint or worse…bursting the shutter and spilling all the concrete.

Spacers were then fitted to the cage sides and base to ensure 100% of the steel rebar would be encased in the concrete once it had hardened. This was to prevent water getting to bare metal and corroding it, with potential structural failure somewhere down the line.

Casting

No…we’re not fishing, we are concreting! With the shutter placed and checked, all was ready for the concrete. Concrete was supplied externally and was cast using the concrete mixer and a concrete skip that K.Pot had, to go with his crane. Some hand-mixed concrete was used to finish off the beams as well.

After the concrete started to pour into the shutter and around the rebar cage, a vibrator was used to settle the concrete. This was to remove and air bubbles or air-locks anywhere in the beam – obviously they would be a potential weak spot if left.

Placing the plinth beam rebar

Building foundations

Next job was to prepare the beam that would connect all those concreted piles together. As most of you know, all the strength in the type of build we are doing here comes in the re-enforced Concrete frame – from the piles, footings, plinth and ring beams and the connecting columns – this frame is what carries the weight of the house. It is exactly the same construction technique as that used to build multi-floor apartment buildings but on a smaller scale

We already placed the piles and formed the pile caps on the top of each one, and the steel that would form the vertical columns on top of that. Next task was to connect all those vertical rebar columns with an RC frame… a plinth beam.

Long straight steel cages were again constructed on site, of varying lengths, to fit between those columns. Then began the task of placing each rebar cage and tying it to the column.

Buddhist Blessing number 1

Building foundations

With the piles placed and the pile cap cages ready to be concreted in, we had the first Buddhist blessing on the site. A monk came from the local temple, and gave the blessing for good luck. The day was pre-determined when PJ had gone to consult at the temple earlier in the year.

During the course of the blessing, money, ‘silver’ and ‘gold’ were placed in the excavations before the concrete was poured.

Other family and the members of the building team attended to make the day a fitting celebration and good luck for the build ahead. Of course food and refreshment was available on the day, too.

Pile boring and capping

Building foundations

Piling

Now, at last…the real work could start! The camp was in use and the team was on site. The ground cleared and the footprint marked out. So now…piling!

Some builds in Thailand need minimal foundations. Basic footing, ‘spot’ piles, or…nothing depending on the size and construction of the build. Some provinces and areas seem more lax about getting to the build stage too.

We were not in one of those areas – full plans, drawn up by the architect, and with all calculations shown had to be submitted to the OrBorTor offices for consideration. A formal application to build was made, and once checked by the OrBorTor Engineer, and assuming all was well, a building permit was issued by the office.

A chat with the Engineer confirmed a softer layer on our plot, with a solid layer several meters down. That necessitated piling. We had already discussed this requirement with the builder and he had the equipment to do it so… no extra charge for the 54 piles we needed.

So on the day, K.Pot arrived with his crane and a pile boring attachment. He quickly got to work, boring down and pulling out the soil until the solid layer was reached. They varied in depth but on average were 5m.

The pile cages were already made (see Pile boring). With bored piles, there is a chance the earth can ‘fall in’ to the bore hole so getting the cage in quickly and concreting were necessary. As the boring progressed, the follow up team were placing the cages, complete with the spacers to keep the metal away from the edge, into the bore hole. Another team prepped the concrete and poured it into the hole to form the finished pile.

In a very short time, or at least it seemed so, all the piles had been bored, caged and concreted. Remember, the initial contract was for Zones 1 and 2 only BUT… we included the piling work for Zone 3 in the initial contract to save having the rig come back to do just the 3rd part of the house.

Pile Caps

The final part of the piling, once the concrete had ‘gone off’ was to construct the pile cap on the top of each one. This was a steel cage attached to the pile head, and set in a concrete pad.

This formed the base to start attaching the plinth beam which in turn formed the basis of the ground floor, once the soils and planks were placed.

Again, the cages were pre-constructed, and were placed and attached to the pile head, before being concreted in…it was during this part of the construction, that the first Buddhist ceremony took place to wish good luck for the construction.

Pile Cage construction

Building foundations

We knew we needed piles, so the build team set about constructing the pile cages to put into the bored holes. With those bored holes being round, the obvious cage was cylindrical. K.pot used spiral steel at the correct diameter then tied the vertical rebar to that spiral to form a metal tube shaped cage – very clever!

It was amazing the speed at which the build team turned out the cages, but I guess they have been doing this work for a long time so it came naturally.

The finished cages were stacked up around the plot ready to be installed once the bore hole was finished.