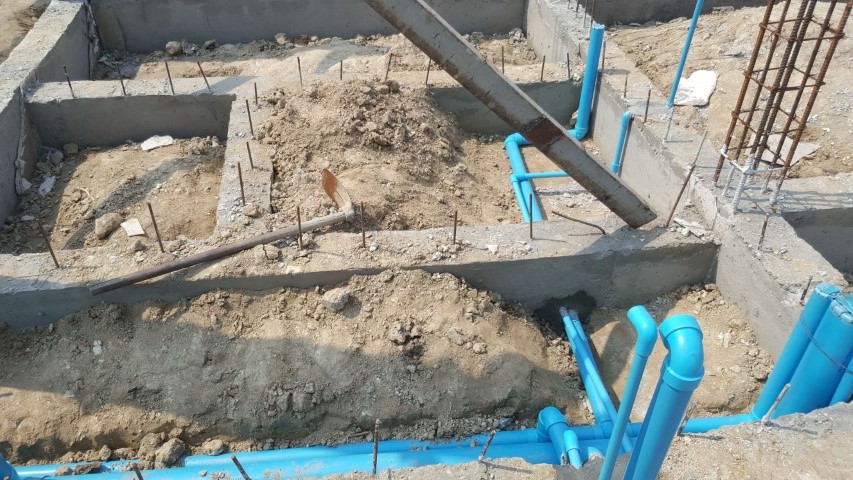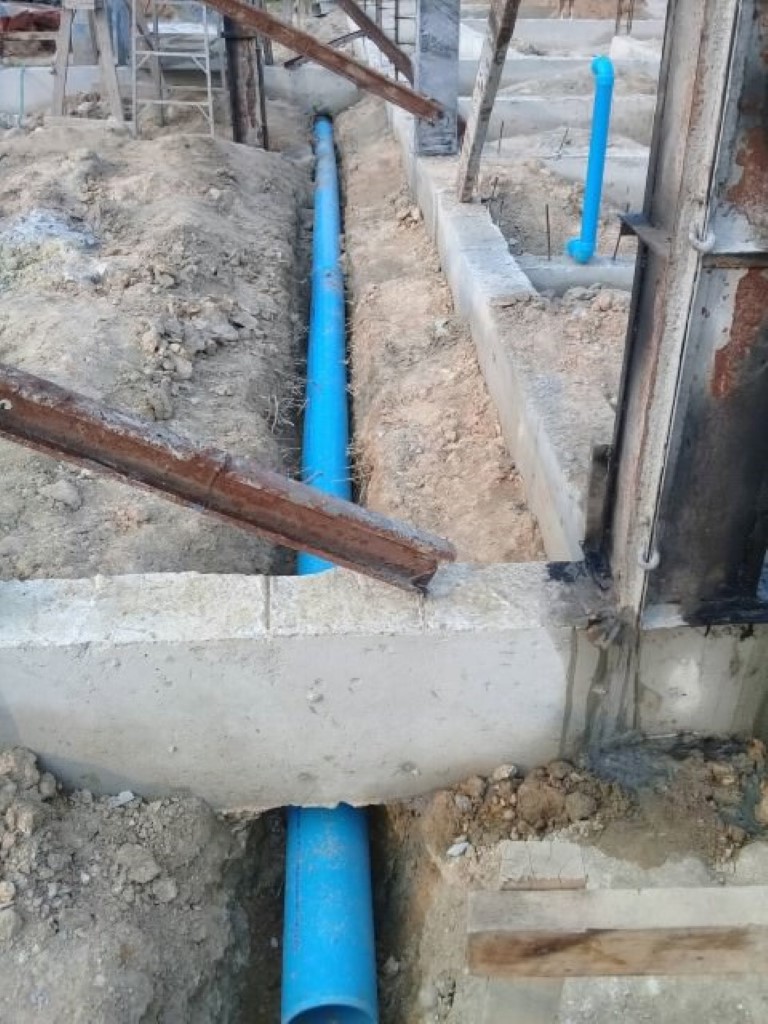

If the house cannot be connected to any main drains, for waste water or sewage, then you need to have tankage for the sewer outflow – the so-called black water. The other water that from the sinks, showers and bath, from the washing machine and the dishwasher can more easily be dealt with either being re-used on the garden, or via a soakaway system. It is important not to add this grey water with the black sewer water before it exits the house, because this will massively increase the flow of water into your tank system.
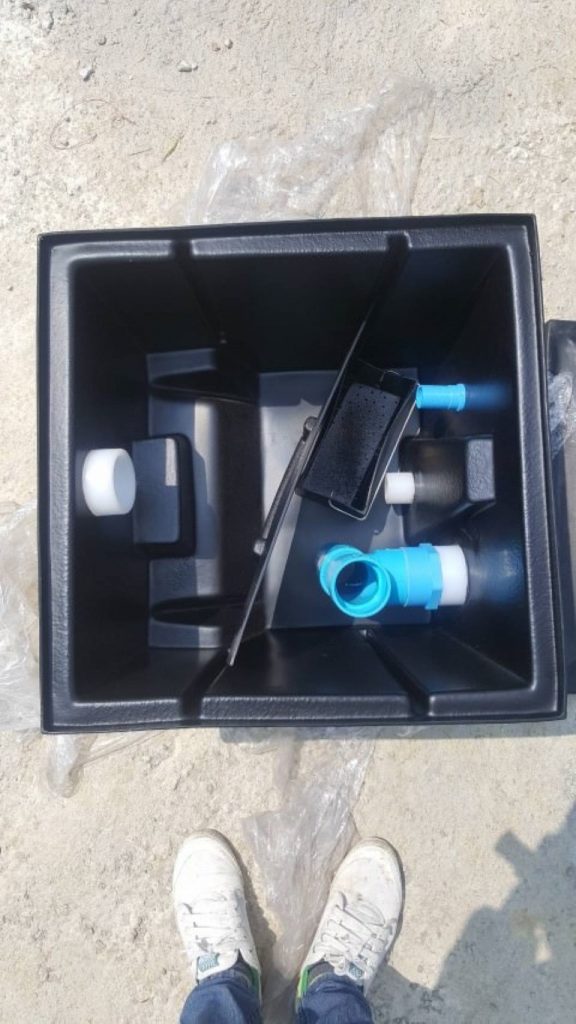
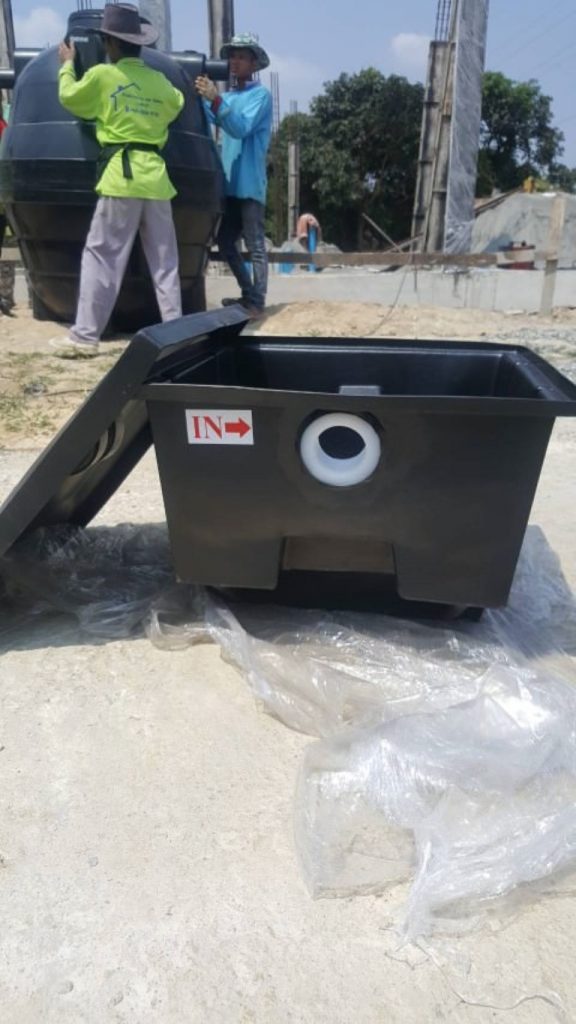
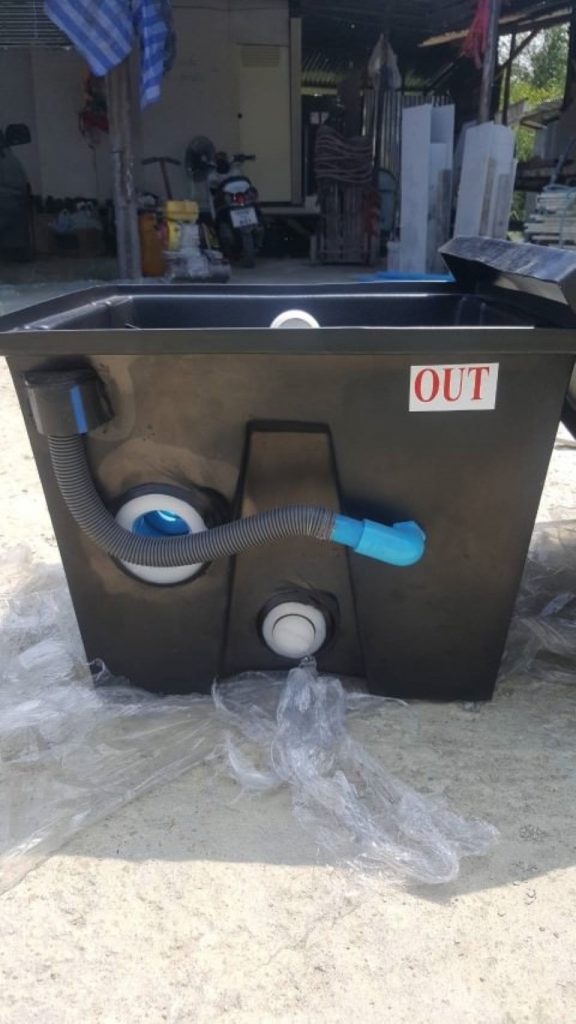
Yes…the main part of the black water disposal is the septic tank. This clever invention takes the water and solids from your toilets, and through settlement and subsequent biological action over time, the water will flow through the tankage and into a run-off and ultimately, a drain field or other soakaway location. During the cause of the biological breakdown the solids will also decompose into a substance that is able to mix with the water and join the run-off process.
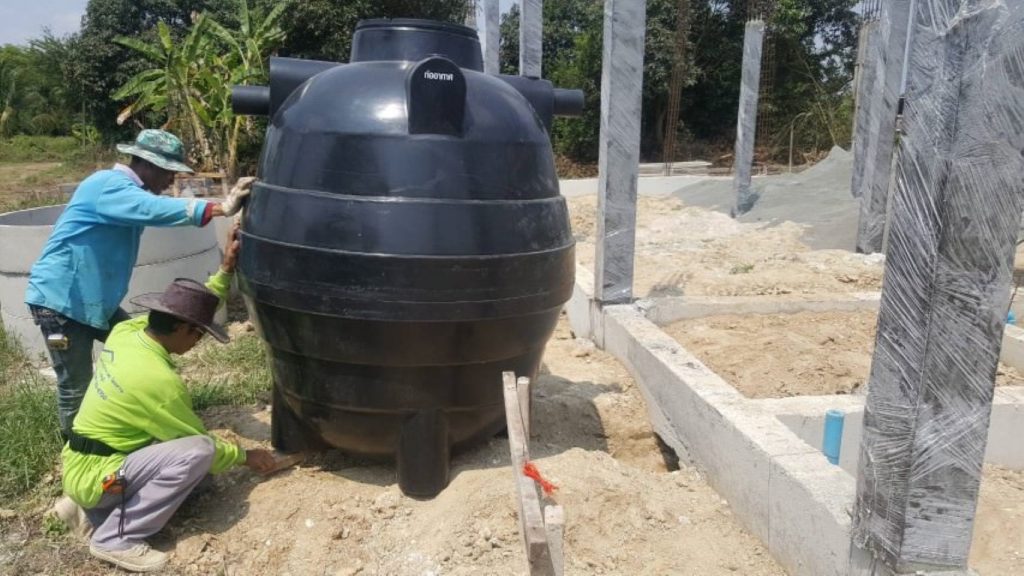
If the flow rate and input volumes (and resultant septic tank size) have been worked out correctly, one might never need to empty the septic tank or, one might long-term occasionally have to pump out the ‘sludge’ that has accumulated, but if the system is under-sized one can expect overloaded and blocked drain fields / soakaways, solid material backing up in the pipes and excessive sludge-pumping. That is why it is so important to match the septic system to the house size, number of toilets and expected number of people living in the house.
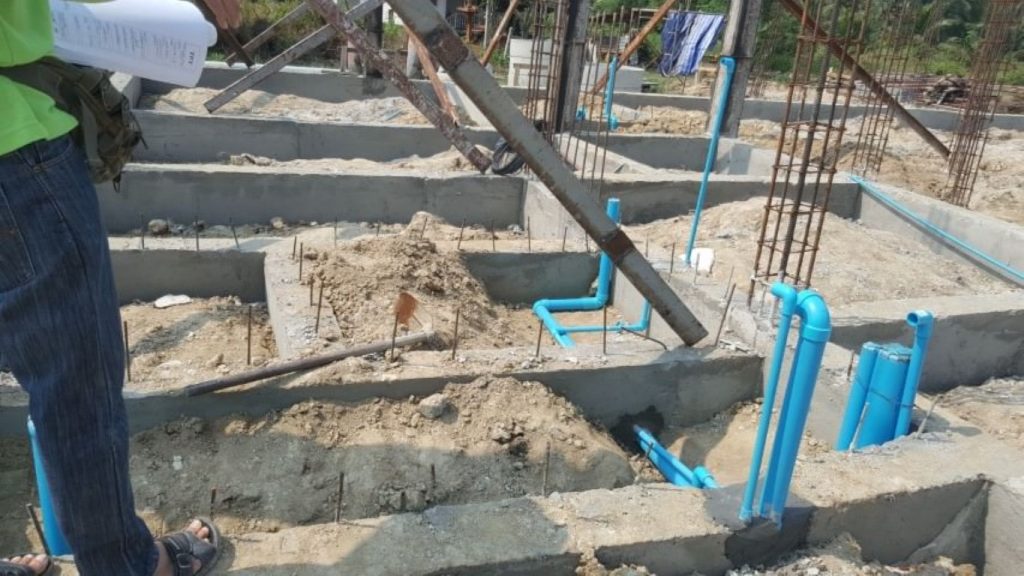
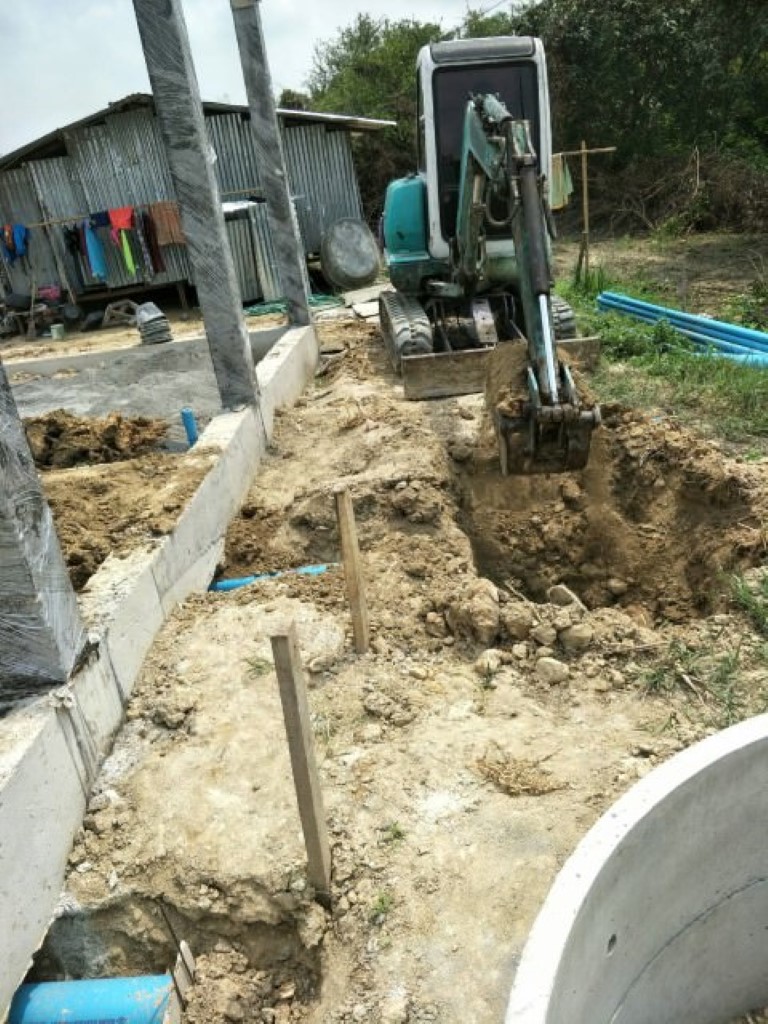
For this build, the calculations were done at the start, and this resulted in TD Towers having…three septic tank systems! These corresponded to the toilets in the three building zones, so one tank looked after the toilets in bedroom 1 and the office/bed 5, a second septic tank handled bedroom 2 and the up and downstairs closets, while the third tank dealt with the toilets in bedroom 3 and 4, and the gym/swimming pool changing room toilet.
Although there were 3 toilets connected to both tank 2 and tank 3, the actual usage, which was factored in, was much less so the volumes into each tank were broadly the same. Each tank system was easily able to ‘digest’ the solid material entering the tank, and efficiently break it down before the resultant liquid flowed through the connecting pipework into the initial soakaway before any residue continued down to the final soakaway/drain field. It was only at that final location that all 3 flows from the initial septic tank / soakaway arrangements came together, but the bulk of the soakaway action took place at the first three initial soakaway arrangements.

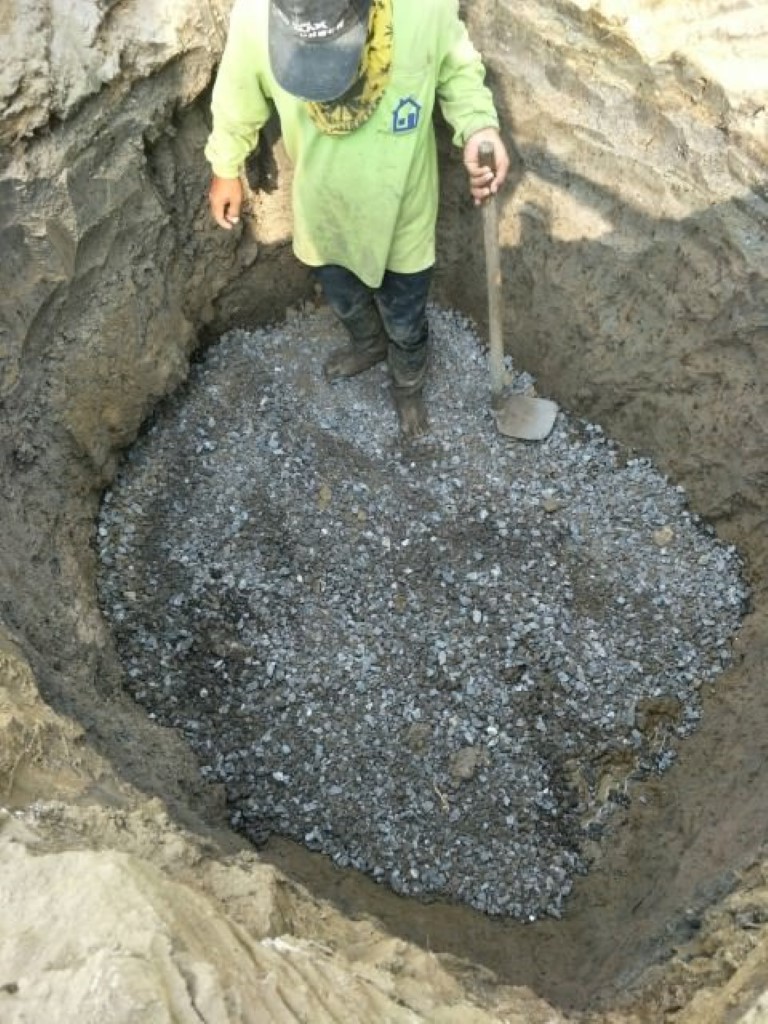
As mentioned earlier, once again forward planning and calculation will ensure you get the right number and size of septic tank. The soakaway arrangements correspond to the tankage you settle on and obviously the connecting pipework is what it is, based on those initial calculations.
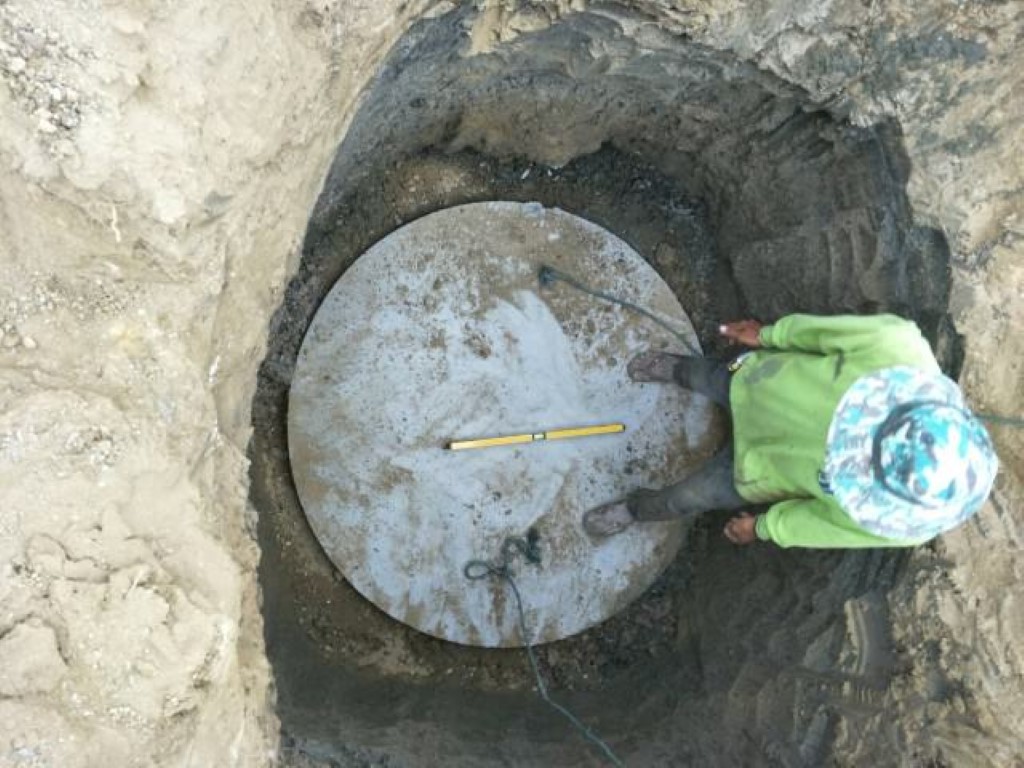
Of course, it is always good to have that ‘back up plan’ for if your tank err… backs up! By that I mean, make sure the access to your septic tank(s) is sufficient for a sludge-gulper to connect up and empty the tanks if that really does become necessary.
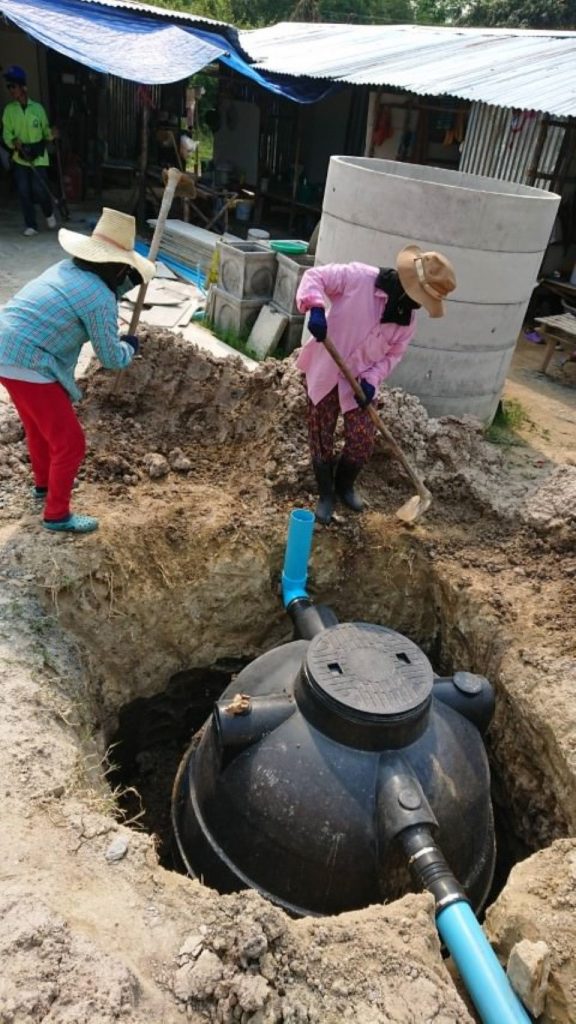
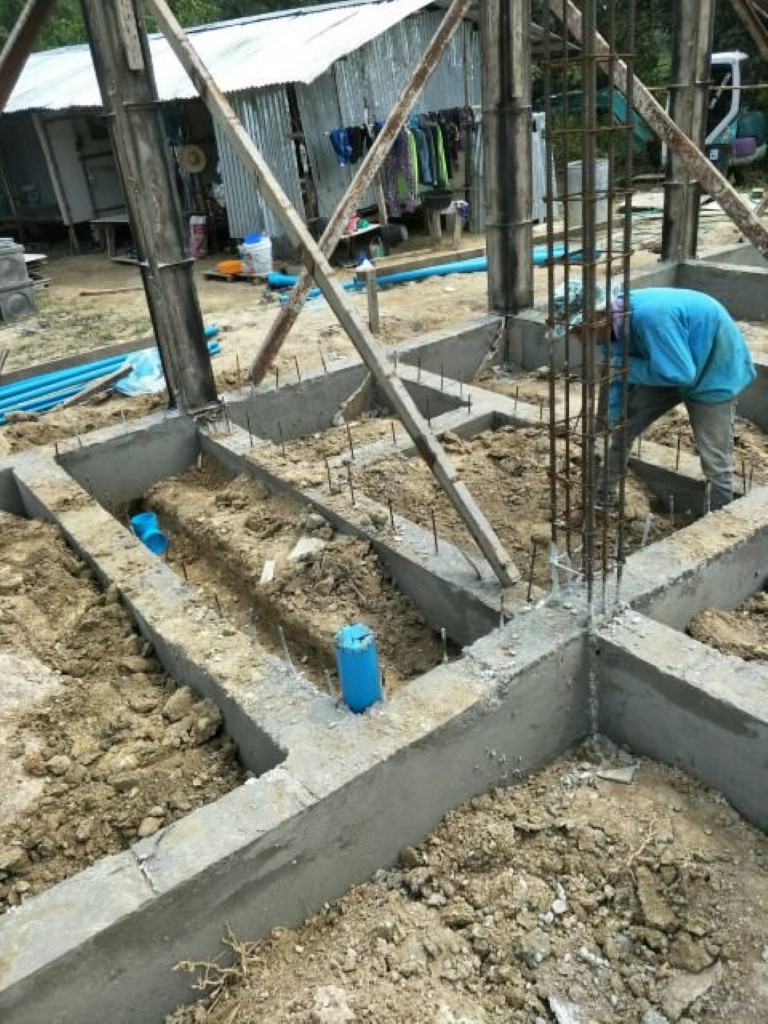
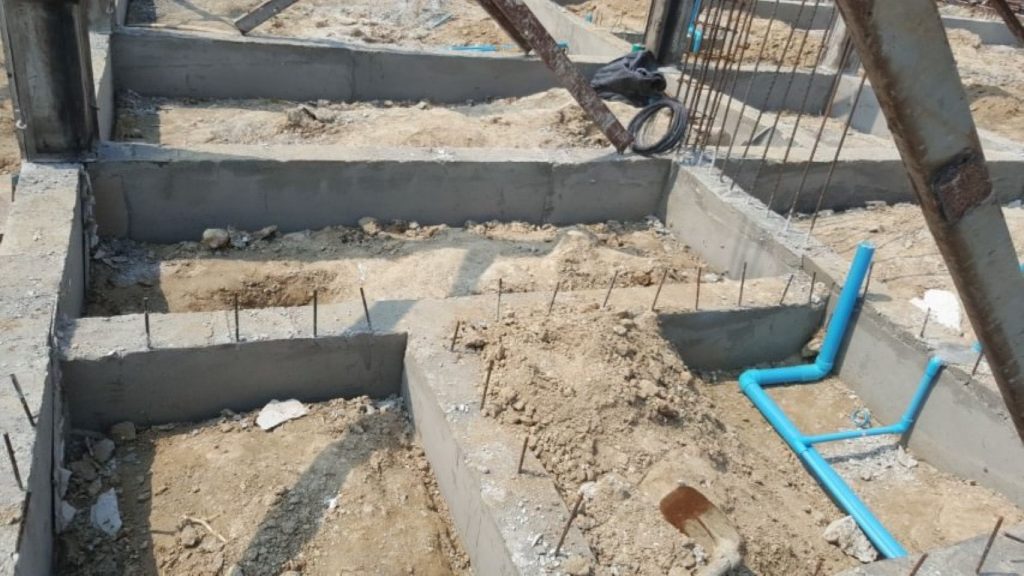
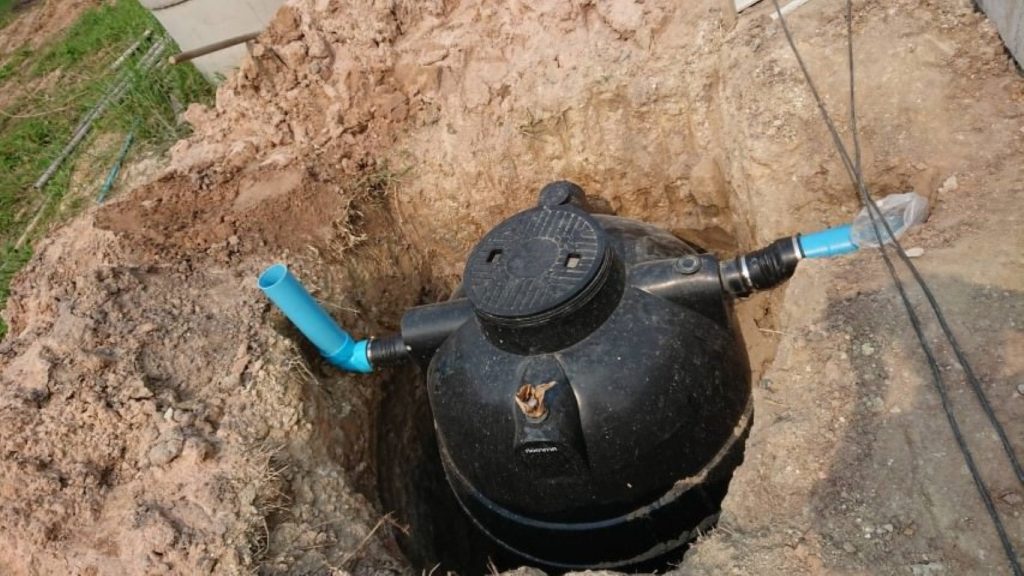
Once the tanks are in place in the ground, they are of course buried. The tank system is sealed to the pipework, the only other connection is the vent pipe. This allows any gas build up to escape from the tank and dissipate into the air. In our case, the builder took a small pipe and lead it away from the tank location, underground, then placed an upright at 2m high against the house or boundary wall. It was of course well away from doors and windows. By having a continuous escape for any gas in the septic system, there is no pressure build up or sudden release of a lot of gas.