The Thinking Behind The Sala

General Construction, Uncategorised

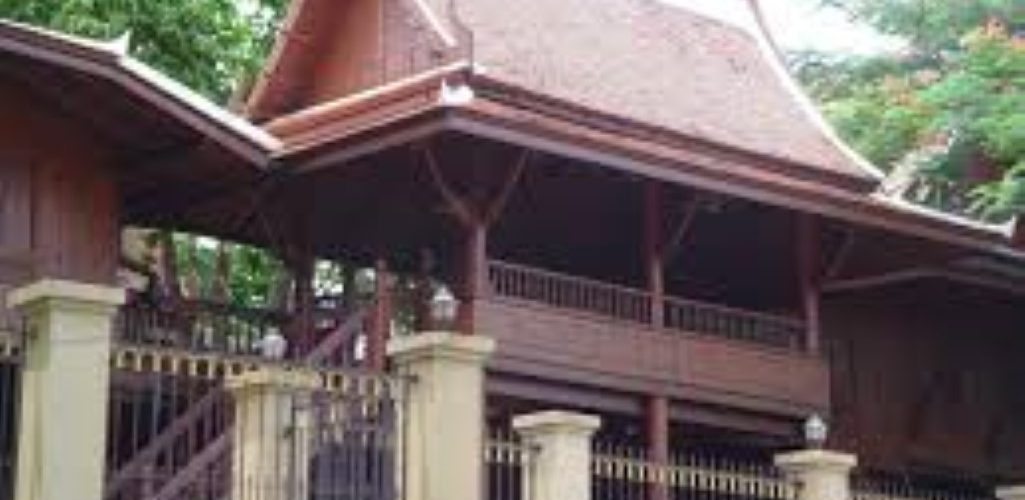
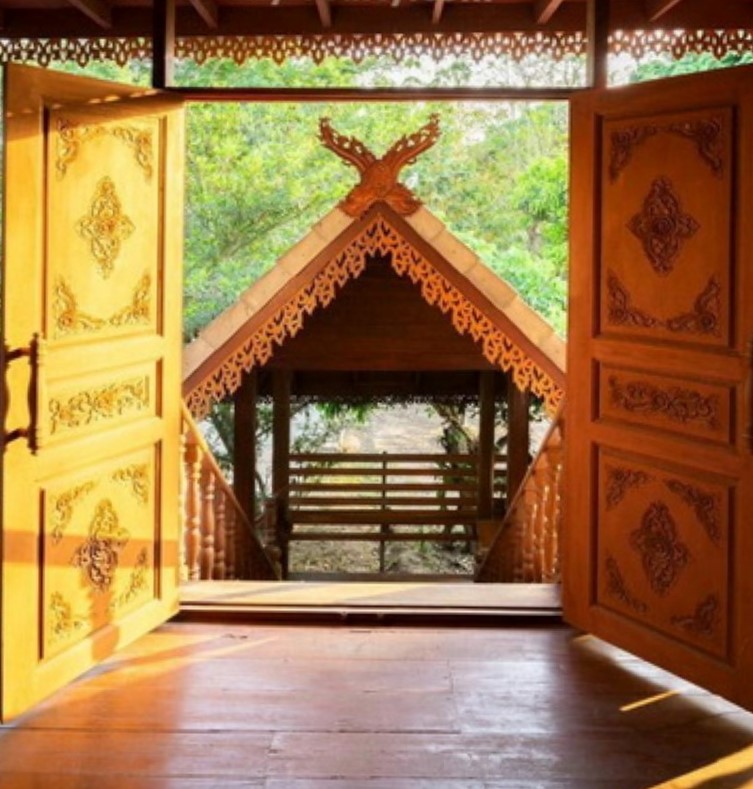
One of the aims of this construction was to include traditional features in the build – roof style, overhang, window proportions and wood panelling detail. A particular and central feature of traditional Thai Lanna and Ayutthaya houses is the Sala.

The Sala was an important part of the traditional Thai house – it was the link between the house occupants and any visitors. Anyone arriving at the house would meet the householder ‘ halfway’ in the Sala. It was only after introductions and some initial conversations that the householder could decide whether or not to invite the visitor into the house proper.

So, we wanted a Sala.

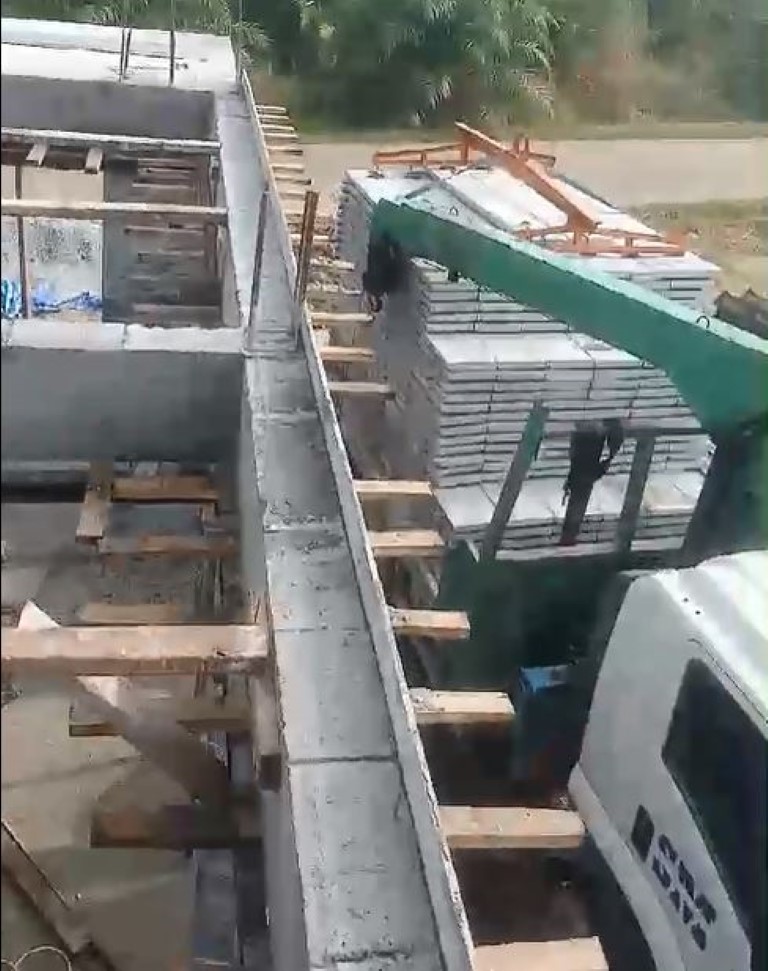
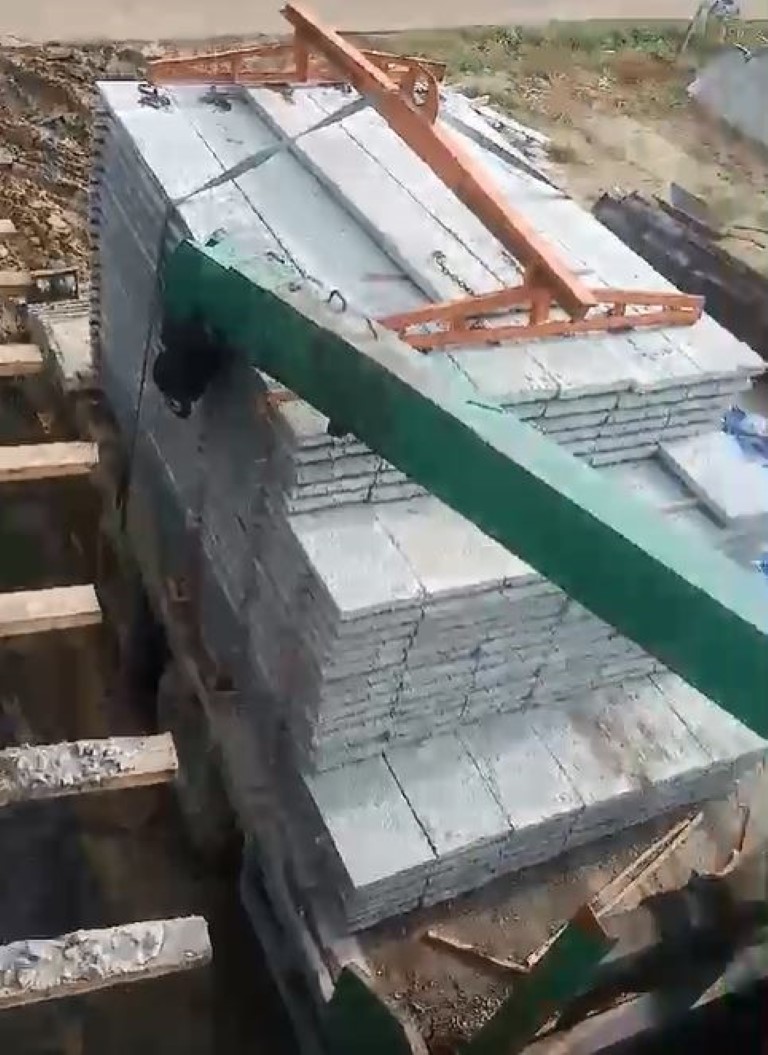
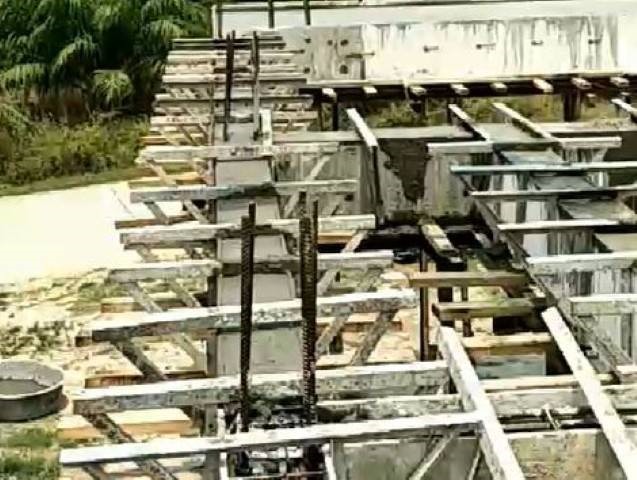
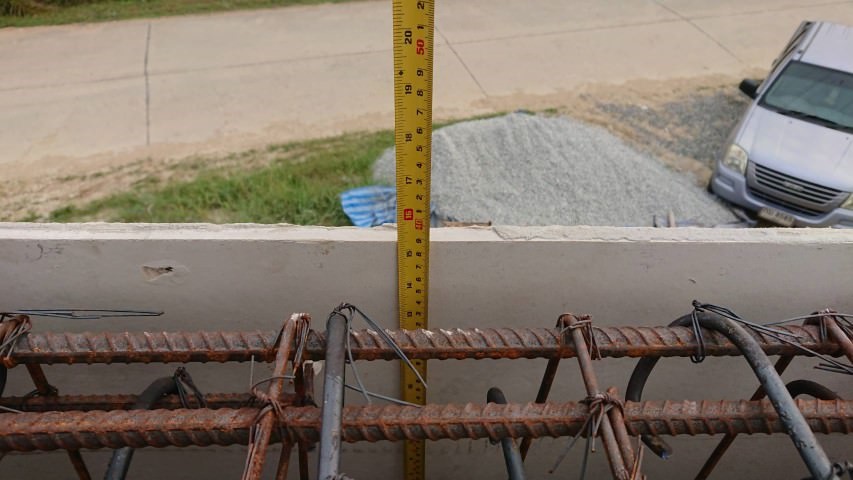
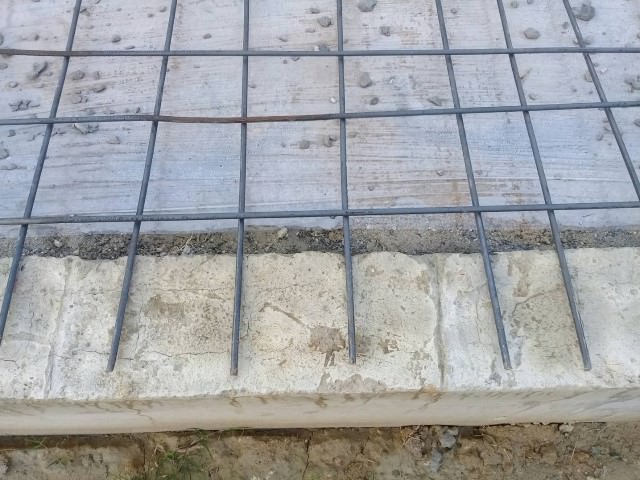
In traditional wooden Thai houses, the Sala would also be a wooden structure, but the Thai House Build was an RC-framed building. We wanted the strength of concrete but with the appearance of traditional wood, as much as possible.

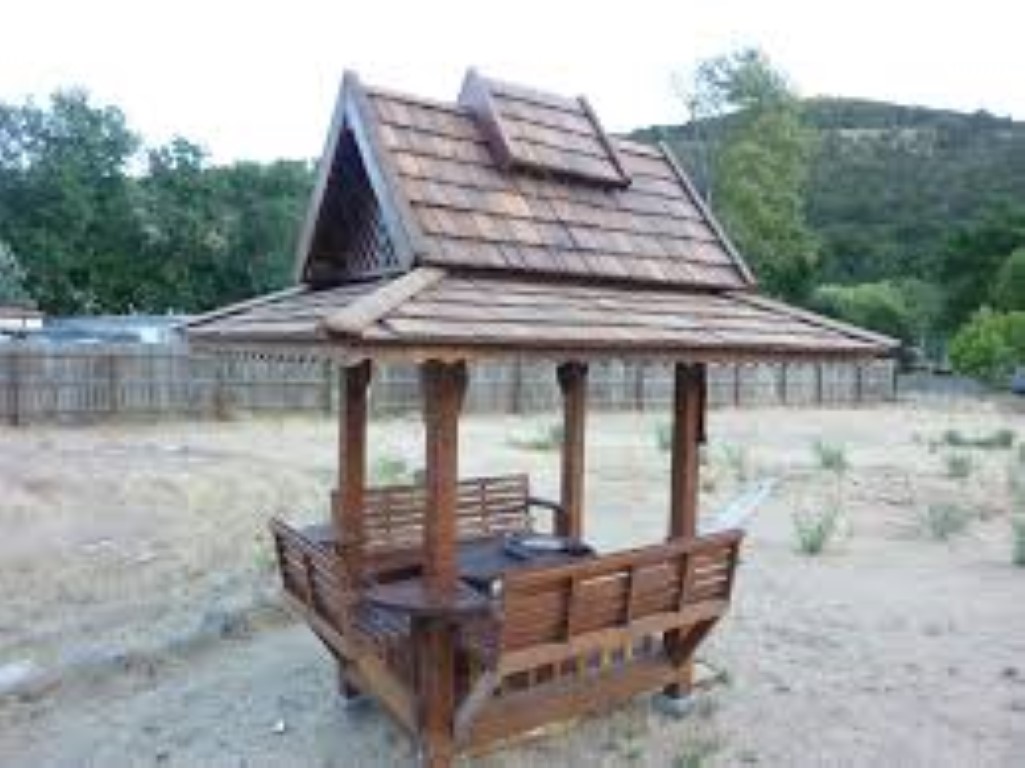
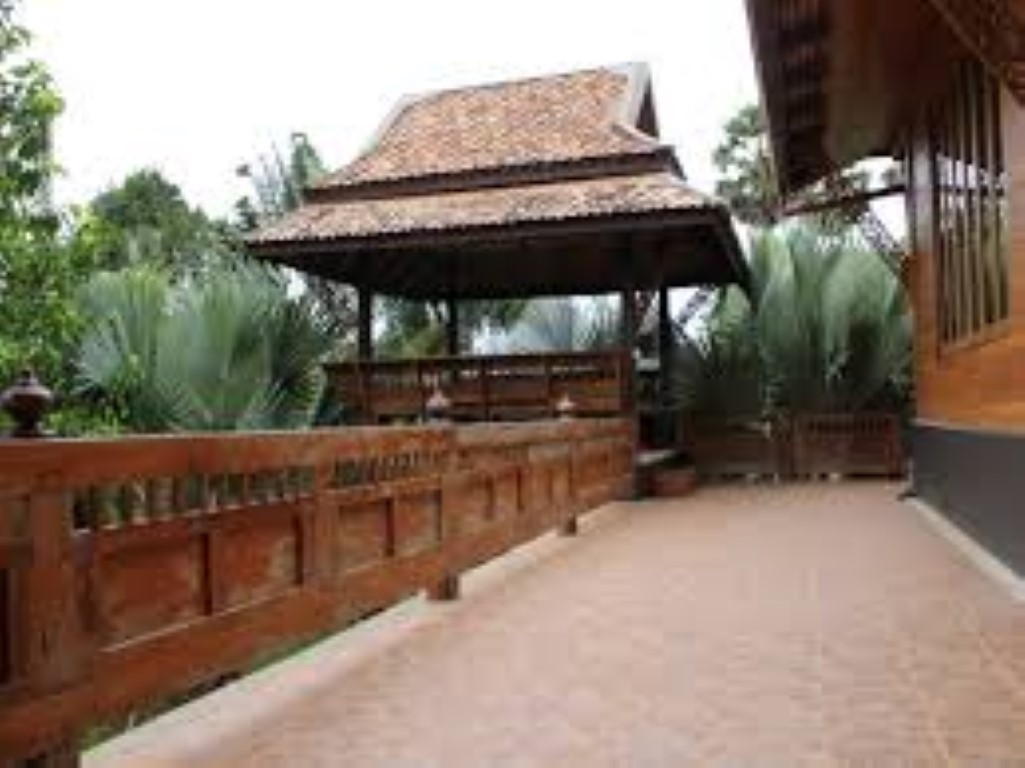
The Sala in modern Thai buildings has in many cases become a ground-based family seating area in the same style as a gazebo. Other designs can have the Sala at the top of the stairs, actually on the same level as the main living buildings for the family.

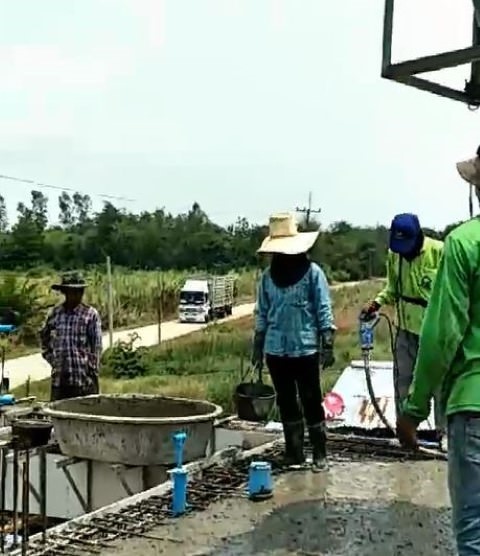
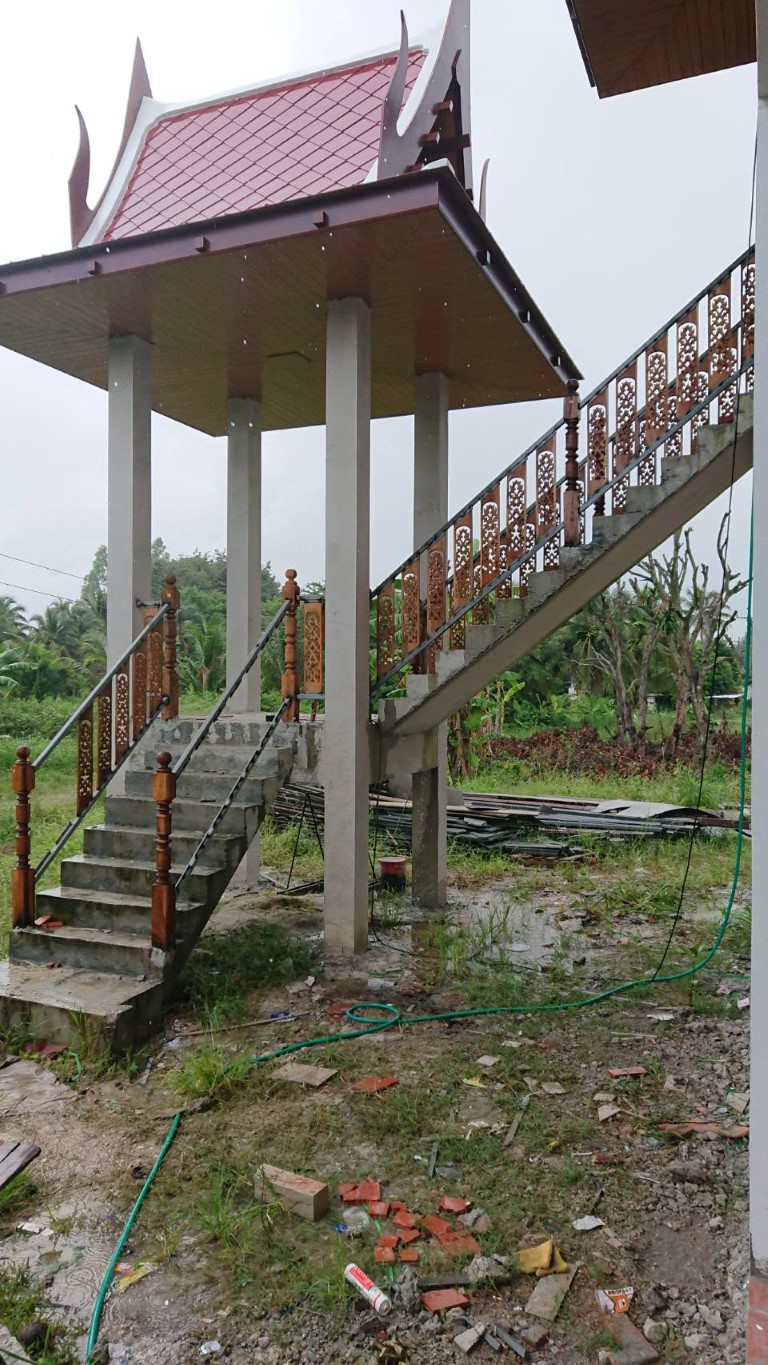
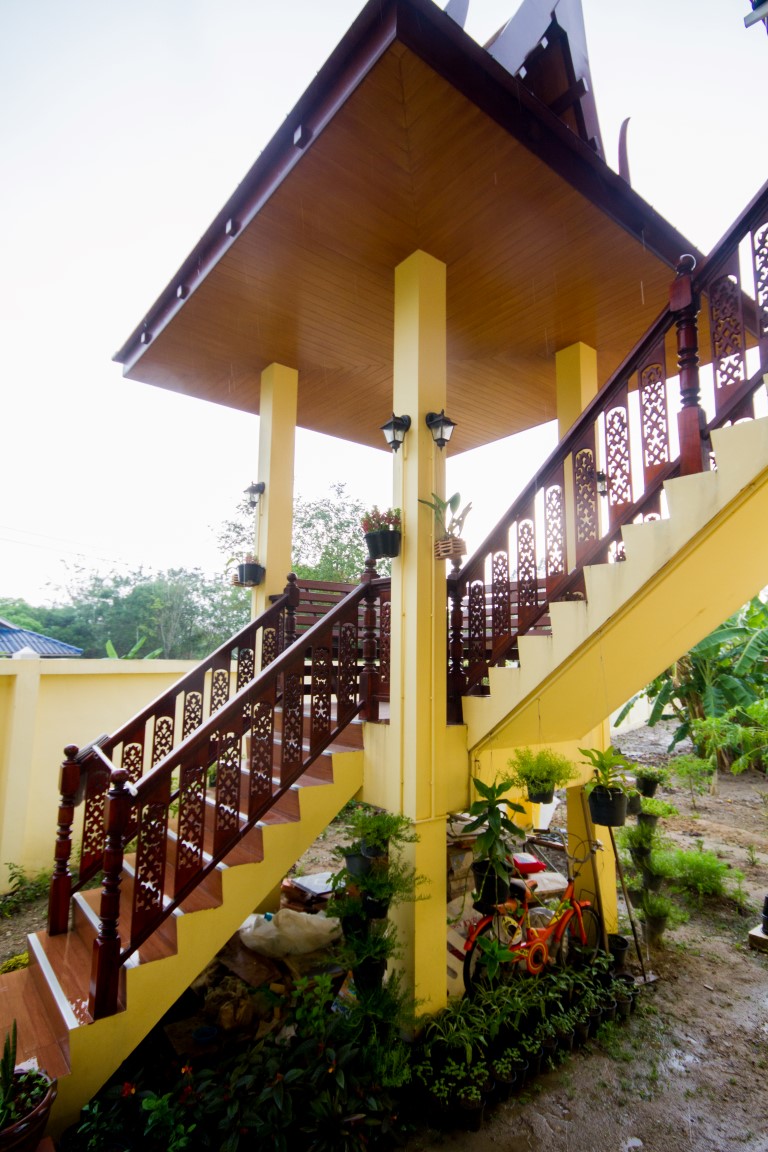
The Thai House Build Sala would be a two-staircase structure, with a seating/meeting area half way up. This roofed area had seating on two sides to provide the all-important meeting zone. The stairs would be tile-over-concrete but the bannisters would be wooden to create the wooden impression of the overall structure.

Location-wise, the Sala is usually situated at the front of the house, leading up to an open area from which all the house’s living rooms were located. We could not put the Sala at the front because we had a plan to put the swimming pool at the front, in an area we could ultimately close off for privacy. Therefore, our Sala was located at the back of the property, leading up from the area adjacent to the access point to the large outdoor covered area under Zone 2.

In traditional western-style houses, there is less need for such a structure – house owners simply come to the front door to greet visitors, as the living rooms are all on the same ground level. Traditional Thai houses though, have the living rooms on the first floor. This comes through history, when flooding could affect the ground floor of the house, and also animals might have been kept at the ground level.

Nowadays, that lower level of the house is often an open social area for the family, so the Sala might be rendered less important if meetings could take place in this area. However, we wanted to have the option, so the Sala was included in the design.

First Floor Planks

First Floor Construction

With the first-floor ring beam now cast, the next stage is the placing of the floor planks.

As before, K.Pot checked the ring beam was solid and ready, then re-checked the spans between the beams. This was to ensure the right length planks were purchased.

As mentioned before, it is not only the length calculation to specify the planks. As the length increases, it is important to make sure the plank can carry the load – longer planks require a greater density of rebar inside, and may even become thicker as a result of the increase in steel

With the required information gathered, he placed the order with the plank supplier. A few days later, the flatbed truck turned up, loaded with planks. The planks had been loaded in a systematic way so that they could be unloaded in a sequence of placing. This was also worked out by the builder beforehand, to make the plank placement a lot easier.

The truck came with a crane attachment and further, a lifting frame so that multiple planks could be raised up in one lift. This speeded up the whole placement process.

As each set of planks was raised, the building crew crow-bar’ed them into final position, making sure they were butted right up together. The first floor soon took on a solid appearance as the planks were placed, but it was important to remember… those planks were not yet secured, they were only sitting in position by the weight of the plank itself and could still move if any force was applied to them sideways and they could fall. With regards to this, while the plank placement was taking place, no one was allowed on the ground floor under the planks at all…safety first. The checking underneath came after all the planks were placed.

During the plank placement, it was necessary to make small cut-outs on some plank corners to fit around the locations of the first-floor columns

Finally, all planks were in place and the first floor was ready for the next stage – re-enforcing mesh placement and concreting, but before that, another separate stage had to be completed – the casting of the first floor columns.

Construction of the 1st-floor ring beam

First Floor Construction

Concreting

Yes! It’s concrete time, again…

With the steel and shuttering all in place and checked, K.Pot ordered the delivery of sufficient concrete to pour the entire ring beam in one go. It would have been too much to try and mix this quantity on-site, so mixer trucks were organised to deliver the wet concrete to the project.

In the collection of work vehicles, the build team had access to a crane and concrete skip, so all the mixer truck had to do was reverse up onto the site and fill the skip. The crane would then lift the concrete batch up to the ring beam location, and the process was repeated until the mixer truck was empty.

Once the trucks started arriving it was ‘all hands to the task’’ as the skip was repeatedly lifted to the ring beam, and unloaded into the shutter. Care had to be taken to make sure the shutter was totally full of concrete, but not over full and spilling out onto the floor below.

It was also important to make sure the concrete had ‘flowed’ around the steel rebar, so that there were no air-pockets inside the beam. Air pockets would create a weakness in the beam, which could lead to floor failure if the beam collapsed. To prevent this, the foreman allocated one worker to be in charge of the concrete vibrator to help the concrete completely enclose all the rebar.

While the concrete pour was taking place, the foremen and one other worker were constantly checking the shuttering to look for leaks or possible failure potential. We think of concrete as a hard mass of rock-like substance, but in its wet-state it has hydraulic properties, especially with regards to pressure. Even in a shallow shutter, the mass of wet concrete is constantly pushing out, trying to escape the shutter, in a way that hardened concrete would not. The deeper the shutter the higher the pressure as you go down. It is less relevant in beam shuttering but much more so in column shuttering.

Once the bulk of the shutter pour had taken place, some finishing work on the shutter had to be carried out by hand. A smaller quantity of wet concrete was placed in a large bowl and then bucketed to where there was small dips in the surface, to bring it up to level.

At the same time as the beam was poured, the team also poured the floors for the bathrooms, which were lower than the actual beams, so that they were completed before the main floor slab (the next task) was planked and poured..

AAC Blocks

General Construction

AAC Blocks

Autoclaved Aerated Concrete Blocks. AAC Blocks

Why did we go for this type of block instead of the more traditional standard concrete block? The standard concrete block would have been cheaper, making a big saving, on the face of it, for the project walling costs. The construction process is basically the same, so what’s the advantage?

Well… AAC blocks have increased thermal insulation properties. They keep the heat out, and the cool, in. In Thailand, where heat build-up is a relentless factor, this is important. By using AAC blocks, we could keep the home cool without over-reliance on Air-conditioning – a big saving over time.

Next, they are lighter than that standard concrete block. Therefore, they can be lifted and passed about very easily, so which makes construction using the AAC block much safer, avoiding back, arm and contact injuries

The AAC block is easier to work with. They can be cut with a saw, so shaping an AAC block is very straightforward.

Now to the costs. Yes, the AAC block is more expensive BUT… it is larger, so you need fewer blocks. If you factor in the price negotiations and discounts for a truckload of blocks, the cost difference is actually negligible.

Now, any downsides? Yes, there is one that needs to be considered, but it is solvable. Once the wall is built and finished…how does one attach anything to it? The construction of the AAC block means that if you attach anything to it with weight, it might pull out of the wall. You get around this by using the AAC wall fastenings which will allow, say, kitchen units to be safely mounted to the wall.

So with the advantages that this type of block offers, the question should really be… why would you not use AAC Blocks!?

Construction of the 1st floor ring beam

First Floor Construction

Rebar and shuttering

With the ground floor slab now completed, and the first floor columns cast, the team turned their attention to constructing the shuttering for the first floor ring beam. This involved creating a beam base (simple a flat sheet, which would ultimately have secured sides to form a shutter around the rebar rods), held up by wooden supports made from bamboo.

On top of this beam base, the team laid out lengths of rebar, and then formed the metal ‘frame’ that would ultimately sit inside the concrete beam. This frame consisted of the straight rebar lengths, joined together if not long enough to complete one span, and smaller rebar sections, bent to form a rectangle which was then attached to the straight lengths, using binding wire.

Once all the rebar frames had been completed, the foreman checked each section of the frame to make sure they had been secured correctly and sufficient rods had been used.

It may look like the rebar rods were just joined together haphazardly, but in fact a lot of design detail was incorporated, based on the calculations.

Err…what calculations?

Well, the beam that was approved to be cast has to be of sufficient strength to hold itself up, plus the floor slab that sits on top of it, plus the concrete skim layer above that, and any furniture and people coming into the house after. If incorrect calculations are used, it could result in the beam breaking and the floor collapsing.

Factors to consider in the calculation include:

  • The length of the span – how far it is between walls
  • The weight to be supported – what the beams will support.
  • The overall number of  beams
  • The grade of concrete used
  • The size of the rebar rods
  • The number of rebar rods used
  • The cross sectional area of the beam

The calculations are initially carried out by the architect – after all it is he who is generating the final plans for approval. Once the plans are submitted, the OrBorTor engineer will X-check those calculations against the standards for building in the province.

Maybe some design changes will be required, maybe not, but in our case, the calculations were good and finally the beam specification is agreed and the plans are approved. The rebar and indeed the overall beam design is then carefully followed to comply with those calculations and the planning approval.

Once the rebar frame had been constructed everywhere, the sides of the shutters were then fixed on, creating an open topped box. Again the foreman checked the integrity of the shuttering around the rebar cages, and also that the chairs were fitted correctly, to make sure the metal cage would be completely enclosed in concrete, when it was poured.

Once all the checks were made, it was time to pour the concrete!

Building a house: UK .v. Thailand – Part 1

Background

So, how different is it, really? C’mon… you want to build a house. You have, or can get, land. Should be straightforward, right?

Well…let’s see. One of the countries IS fairly straightforward, but which one?  


United KingdomThailand
Land
Finding land for building is difficult. The UK is crowded. There is high demand for building plots. Land has to be allocated as ‘building land – you cannot just build a house anywhere. Building land is expensive. Part of the high price is down to the market being whipped up by estate agents and owners, plus the classic supply-and-demand.Finding land is considerably easier especially out of the towns and cities. Crowding is actually about the same – both countries have around 65M people. The demand for building land comes from developers or foreign expats who want to build a house. In general, any land can become building land. The cost is 5-10 times cheaper to buy land to build. The estate agent concept is limited to conurbations. In rural Thailand, you are more likely to find land by word-of-mouth.
Plans
You will need the services of an architect. He will produce the plans for you – a complete set including everything needed to make the submission. Depending on his workload this might take a lot longer than you had envisaged. Also, architects like to charge a percentage of the house value as their fee, which can end up running up a bill of £000’s. If you try to do the whole submission yourself it will almost certainly get rejected, adding more time to your project until you can amend and re-submit.You can sketch out your idea yourself, or use an off-the-shelf drawing program which will create plans. You will need Certified Engineer or Architect to carry out the calculations for your build, and to add the Thai language annotation. If you employ a good professional here, he will make sure the plans get approved, making any changes if requested, and re-submitting. Cost for this at the time of writing, can vary between 30,000THB and 60,000 THB (approx £700 – £1500). There are pre-calculated and approved plans available in Thailand which speed up the whole process still further.
Planning Permission
Once the plans are ready, you get an application for from the Local Authority. Fill out the form, attach it to your planning submission and pay the fee. The fee is non-refundable in the event that your plans are rejected. Depending on the LA, they will set a timescale of several weeks before they officially respond the decision to permit or reject the development. If your application is refused, you can appeal the decision, but you must have a good reason to do so. Simply being unhappy about the decision is not enoughYou, or your Engineer / Architect, physically takes the plans bundle to the OrborTor regional administration office (Local Authority) and presents them to the Resident Engineer. Yes of course, the plans are checked, and the calculations verified. None of this ‘planning permission team only considers applications every 2 or 3 weeks’. The engineer can carry out the checks in a couple of days, then advise the OrBorTor that the plans can be approved. No one else is involved. In the overwhelming majority of cases, the Engineer works WITH you to make sure those plans are acceptable, so there is no need to appeal
Ground Survey
The plot will require a survey to determine the bearing capacity of the land, and whether it will support the structure. This can be a simple visual survey or a costly one with equipment and experts involved. This is one area where the requirement is ‘bigged up’ and costs associated with it also rise. Part of this requirement stems from the way houses are built in the UK, with strip foundations, and load-bearing walls forming the house integrityThe building type in Thailand is predominantly the RC frame with non-load-bearing infill walls, no strip foundation is constructed, as in UK. Unless the building is small and single storey, the ground will have to be checked, again for the spot foundation support, or if piling is needed. It is totally possible that the OrBorTor office has a plan of soil types and strengths and can refer to it for your application, so the survey may not even be required
Timescale for Planning Permission
The concept. The plans to be drawn following a meeting with the architect. The planning permission to be sought. The appeals process if the plan is rejected. Enquiry. Witnesses. The slow process in the planning department itself. The reality that the LA planning department will almost certainly reject the application All this could amount to 4- 6 MONTHS and even longer if there are objections. You might make a submission 2,3,4 or more timesComing up with the idea, and sketching it out. Any number of certified engineers to turn your sketches into plans, and present them at the local authority offices. Make any changes based on the recommendations of the LA Engineer and resubmit. Permission and the associated Building Permit are almost always granted All of this can realistically be completed in 1 month IF everyone is available and your sketches are not too complicated. Even with such hold-ups, a 2 month timetable is easily achievable.
Objections
These can come from the LA, from neighbours, from any of the services and utilities, from adjacent businesses, the Department of Transport, Civil Aviation Authority, etc etc etc. a large number of ‘interested parties’ can raise objections to the planning proposal. Loss of amenity, loss of view. Dangerous access point, under a flight path, lack of services or Underground services directly in the path of the development, contaminated soil, hostile or jealous potential neighbours. Any or all of the above, and more besides can be put in the way of your development proposal. You can counter some or all of it by liaising with the interested parties, agreeing a revised solution together, producing your own letters of support, but all of this takes time. With many objections, there will be an enquiry and this can really add to the time and costsThere is not really an ‘objection’ process where interested parties can comment on the planning proposal. You are under no obligation to notify anyone of your intentions, apart from the Local Authority. Therefore, this potential minefield does not exist in Thailand. However… …it’s a double–edged sword. Yes, it speeds up your proposal and application. No pesky people causing problems. You get your permission and start building, right? That’s fine, but it’s the same for other ‘developers ‘too. How would you feel if you completed your dream home and six months later a supermarket was built next door? Or a bar/disco? Or a pig farm?! You must ‘keep in’ with the OrBorTor office to learn about such proposals so you can raise a timely concern.
Decision
After what seems like a very long time, the ‘decision’ will be issued. In the UK, for small or single dwelling developers, the decision is almost always rejection. The whole system is stacked against a person who wants to build his own house, and in the process, is a nice little earner for those Local authorities – you pay, whether you win or lose, remember?. There are plenty of cases where an individual is denied permission to build an a particular piece of land but later a developer’s scheme on exactly the same piece of land is approved – all the initial ‘objections’ seem to magically melt away. Is it corruption? Back-handers? Possibly, it’s not for me to say but for 100% sure the planning process is more a case of who you know, not what you know.In Thailand, you are not judged on whether the Engineer thinks you deserve to be allowed to build. The plan is submitted. The plan is checked and considered and usually the plan is approved. That’s it. No dramas. Of course, sometimes ‘big business’ can influence who gets to build in a particular place, usually if they have a direct interest in that building, but it is nowhere near as widespread as in UK. The whole thing is low key. No making you sweat on the outcome. No building up the drama. You get told via a call or even just popping in to the offices of the Engineer. Unlike the UK, Planning control officers do not see themselves as ‘gods’ to be buttered up. No, in Thailand, they are hard-working professionals who want you to succeed. In the UK, those same professionals default position is for you to fail.
Appeal / resubmission after revision
There is a well-worn process for appealing the decision if, as is mostly the case, it is rejected. The appeal needs to have some new reason if it has a hope of succeeding. There is more hope with the resubmission route. The initial decision will state the reasons. If they can be addressed, the application can be re-submitted and that has a higher chance of success. It comes down to whether the planning control officers accept that the revisions cancel the reasons for rejection. Since the overwhelming majority of planning permission submissions in Thailand are granted, the appeal process is virtually non-existent. Even if some revision or addition to the submission is requested, often the Engineer will move forward on the understanding that the item will be corrected. Once again, the planning officers’ work with the applicant to achieve success.
UK and Thailand – Granted Permission
Here is where the two countries processes are similar. Assuming you are lucky enough to actually get a decision granted, An approval certificate / Building permit will be issued, detailing the build, the timescale for the commencement of building, etc

Once the approval has been confirmed, a Building certificate is issued. Although the process is low-key it is important to retain that Certificate as it confirms the construction is legal. This is very useful when the time comes to sell the house


Casting the ground floor slab

Ground Floor Construction

Now the plinth beams were cast and had gone off, preparations were made to cast the ground floor slab. This involved bringing the ground level up to the edge of all the ground floor beams and then casting the concrete which would form the ground floor.

In between that process, the ground floor plumbing would be placed (see the plumbing section) and also the termite control pipework (see termites post)

With the plumbing for waste water and toilet waste in place, the next task was to raise up the ground level and compact the ground. This had to be done in layers – a thin layer of soils placed in between the beams and then that soil layer passed over with the plate compactor.

K.Pot started backfilling to a plan, and one of the workers immediately started levelling what was barrowed in. Once the layer was spread out evenly, the plate operator moved his vibrating plate over the loose soils and started to compact it. The next layer was then placed and the process repeated.

Even this compaction was not hap-hazard – the operator had a recognised plan, so many passes over all parts and in each direction. Without this plan it was possible to have soft spots where the soils were not adequately compacted

Going along in tandem with this was preparation to cast the ground floor columns. The steel cages were already in place and attached to the ring beam. See the section on casting the columns for more detail on this.

Finally the compacted soils were brought up to parallel with the top of the plinth and support beams. During the final part of the process, those termite control chemical lines were fitted all around the beams, to periodically deliver the chemicals under the house (see Termites).

Next the building team started to lay out the steel re-enforcing into a mesh, tying the rods together with binding wire, covering the whole ground floor area. This mesh would be set into the concrete once it was poured, to give added strength to the floor slab.

 The steel re-enforcing was lifted up off the ground so that it was completely encased in the concrete. This was achieved using the concrete chairs that were made earlier, before the ground floor work had started. The build team went around the finished mesh, attaching sufficient chairs underneath it to lift it all up off the compacted soil and beams.

Once that was completed and checked, the team went around the perimeter of the floor slab, fitting the shuttering to contain the concrete pour. Although the slab was not deep, there was a large mass of wet concrete in place when poured so it was essential that those shutters were adequately braced to prevent shutter collapse and wet concrete going everywhere.

On the day of the slab pour, the team were on hand to carry out all the tasks associated with casting the slab. Making sure the shutter remained strong and in place with no leaks. Directing the wet concrete into position over the steel mesh. Making sure that the mesh did not sag sown against the soil when the weight of the concrete was on it. Vibrating the concrete. Pushing the concrete into the corners. Levelling the poured concrete.

The pour commenced when the first delivery was made. The total volume was worked out, and translated into cubic meters of concrete. The order was placed and the mixer trucks started to arrive. Each load was poured into the slab area and the build team got to work spreading it out.

The vibrator was used to make sure the concrete flowed around the steel mesh and there were no air pockets trapped in the concrete.

The mixer trucks were scheduled to come at regular intervals until all the concrete had been placed and the slab was completed, so that there were no dry joints in the slab.

The final part of the process involved shunting a straight edged board back and forth over the top of the pour to level it. This was a judgement of eye, not equipment but the foreman had several years’ experience of this important part of the slab pour and it went well.

Once the slab was poured, vibrated and levelled, the team covered the concrete over with plastic sheeting and the curing process began. Periodically, the slab was lightly sprayed with water to prolong the hardening process of the concrete.

Glossary 2

General Construction

Curing – The chemical process of the hardening of concrete. The evolution of wet concrete to green concrete to hard concrete is known as curing. Concrete does not go hard simply by ‘drying out’ and in fact it is a chemical process where the cement interacts with the sand and aggregate. Within reason, the longer a curing concrete is kept wet, the harder it becomes.

Green concrete – The name given to concrete that is solid but has not achieved its final hardness.

Black water – Water that passes out of the toilet system. Water entering the system is not black water (it will be the water supplied as mains water or harvested rainwater) but water leaving the toilet is always referred to as black water.

Grey water – The water that is the outflow from the sink, shower, bath, washing machine or dishwasher. Again, this name does not apply to the water entering the system, which is mains water or harvested rainwater.

Pile – The first and optional (depending upon your soil type, and the type of structure you are going to build) part of the houses foundations. Basically, it’s a long re-enforced concrete pole, either driven into the ground until it hits solid ground or the friction forces prevent it from moving, or a hole is drilled, a steel cage is lowered in and concrete is poured into the hole until it is full.

Chanote – The highest form of land ownership document and the one you should always try to obtain when purchasing land to build your home on. The Chanote (Nor Sor Si (4) Jor ) is registered in the Government land office, and the owner details are recorded on the document. The land is physically marked with corner Chanote markers, placed by the Land Office survey team, and tied to the national grid. (See the Types of Land section for more information)

Marking out – The process of taking the plans, showing the footprint of the house, and physically, accurately, marking that footprint on the actual building plot. The marking out process extends to service routes (water, electric), septic tank location, boundary wall gates, etc.

Striking – Nothing to do with disputes or unions! This I the process of removing the shutters from cast concrete to reveal the final shape, hopefully the one that was planned, with no voids or exposed rebar.

OrBorTor office – The equivalent of the Local Authority, or local government. For housebuilding, this office deals with checking of planning application documents and the checking of calculations, plus the issuing of the building permit.

Bill of quantities – Literally, a list of the different amounts of everything needed to complete the build, with the unit and total prices for each item.

Glossary 1

General Construction

Cast – As in ‘We cast the concrete’. The process of pouring and distributing the wet concrete into its final place.

Chair -A small, concrete disc with wires set inside. Used to keep the steel rebar within the concrete being poured, so that no metal is exposed to air or water.

Rebar – Metal rods and frames, worked into cages and meshes. Used to strengthen concrete. (As in Re-enforced concrete).

RC – Re-enforced Concrete or, concrete with a steel rod or mesh inside it for added strength.

AAC block – Autoclaved Aerated Concrete block. Lightweight, foamed concrete block, lighter than traditional concrete block and consisting of sand, lime, cement, water gypsum and aluminium powder. Once formed, the block is ‘cured’ under heat and pressure in an autoclave.

Span – The distance between two sides of a room, measured between the RC beams, plus 1 beam width.

Plank – A re-enforced concrete slab, used to form floors on the RC frame of the house. The plank is of known thickness and reinforcement, based on load bearing and span.

Footing – The first part of the house – the piles, spot piles, plinth beam. Basically, the foundations of the house, from which the house itself will be built on. In the West, footings could be a trench filled with concrete, then a brick base course and Damp proof course membrane on which the slab is cast and the house is built up from.

Makro – No, not the discount store (though that is available in Thailand) but rather any mini-digger.

Soakaway – The part of the water system, both black and grey water, at the end. The final effluent pours into this and is distributed into the surrounding soils and neutralised via microbe action. The water literally ‘soaks away’ into the soil.

Shuttering – The solid temporary wall around columns, beams or slabs they set the size of those slabs and columns. The shuttering is fixed into place and then the poured concrete is bounded and cannot spread out or run away. Once the concrete has gone off, the shutters will be removed and reused elsewhere.

‘Gone off’ – Refers to the chemical process of the hardening of concrete, the pour is said to have gone off when it has hardened into a solid structure, before it achieves its final hardness.

Septic tank arrangements

Plumbing

If the house cannot be connected to any main drains, for waste water or sewage, then you need to have tankage for the sewer outflow – the so-called black water. The other water that from the sinks, showers and bath, from the washing machine and the dishwasher can more easily be dealt with either being re-used on the garden, or via a soakaway system. It is important not to add this grey water with the black sewer water before it exits the house, because this will massively increase the flow of water into your tank system.

Yes…the main part of the black water disposal is the septic tank. This clever invention takes the water and solids from your toilets, and through settlement and subsequent biological action over time, the water will flow through the tankage and into a run-off and ultimately, a drain field or other soakaway location. During the cause of the biological breakdown the solids will also decompose into a substance that is able to mix with the water and join the run-off process.

If the flow rate and input volumes (and resultant septic tank size) have been worked out correctly, one might never need to empty the septic tank or, one might long-term occasionally have to pump out the ‘sludge’ that has accumulated, but if the system is under-sized one can expect overloaded and blocked drain fields / soakaways, solid material backing up in the pipes and excessive sludge-pumping. That is why it is so important to match the septic system to the house size, number of toilets and expected number of people living in the house.

For this build, the calculations were done at the start, and this resulted in TD Towers having…three septic tank systems! These corresponded to the toilets in the three building zones, so one tank looked after the toilets in bedroom 1 and the office/bed 5, a second septic tank handled bedroom 2 and the up and downstairs closets, while the third tank dealt with the toilets in bedroom 3 and 4, and the gym/swimming pool changing room toilet.

Although there were 3 toilets connected to both tank 2 and tank 3, the actual usage, which was factored in, was much less so the volumes into each tank were broadly the same. Each tank system was easily able to ‘digest’ the solid material entering the tank, and efficiently break it down before the resultant liquid flowed through the connecting pipework into the initial soakaway before any residue continued down to the final soakaway/drain field. It was only at that final location that all 3 flows from the initial septic tank / soakaway arrangements came together, but the bulk of the soakaway action took place at the first three initial soakaway arrangements.

As mentioned earlier, once again forward planning and calculation will ensure you get the right number and size of septic tank. The soakaway arrangements correspond to the tankage you settle on and obviously the connecting pipework is what it is, based on those initial calculations.

Of course, it is always good to have that ‘back up plan’ for if your tank err… backs up! By that I mean, make sure the access to your septic tank(s) is sufficient for a sludge-gulper to connect up and empty the tanks if that really does become necessary.

Once the tanks are in place in the ground, they are of course buried. The tank system is sealed to the pipework, the only other connection is the vent pipe. This allows any gas build up to escape from the tank and dissipate into the air. In our case, the builder took a small pipe and lead it away from the tank location, underground, then placed an upright at 2m high against the house or boundary wall. It was of course well away from doors and windows. By having a continuous escape for any gas in the septic system, there is no pressure build up or sudden release of a lot of gas.