
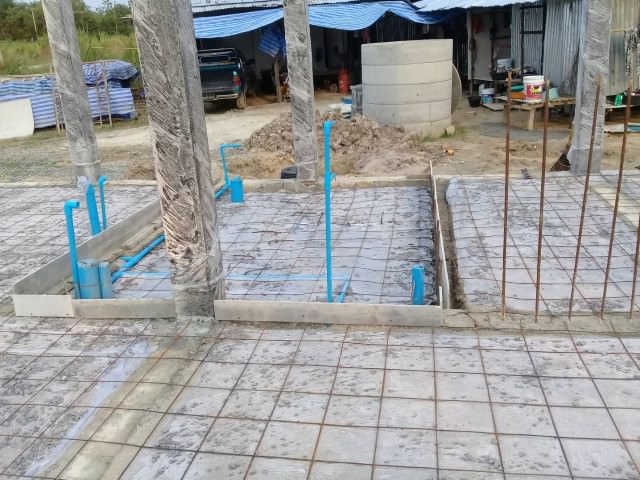
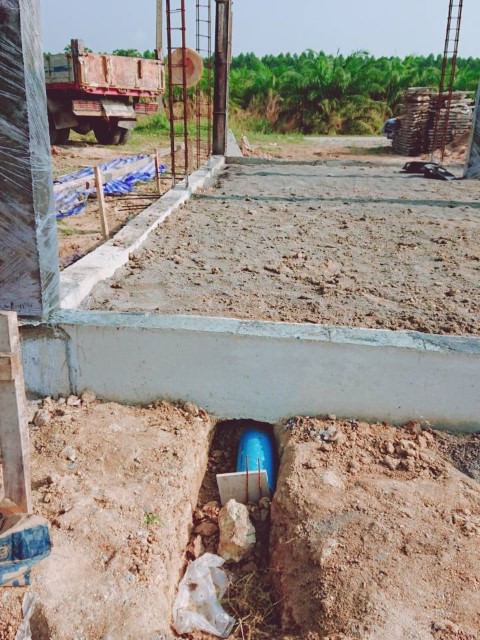
Now the plinth beams were cast and had gone off, preparations were made to cast the ground floor slab. This involved bringing the ground level up to the edge of all the ground floor beams and then casting the concrete which would form the ground floor.
In between that process, the ground floor plumbing would be placed (see the plumbing section) and also the termite control pipework (see termites post)
With the plumbing for waste water and toilet waste in place, the next task was to raise up the ground level and compact the ground. This had to be done in layers – a thin layer of soils placed in between the beams and then that soil layer passed over with the plate compactor.

K.Pot started backfilling to a plan, and one of the workers immediately started levelling what was barrowed in. Once the layer was spread out evenly, the plate operator moved his vibrating plate over the loose soils and started to compact it. The next layer was then placed and the process repeated.
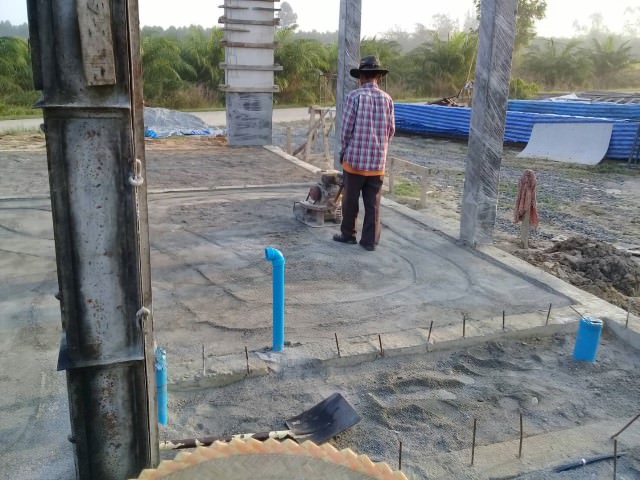
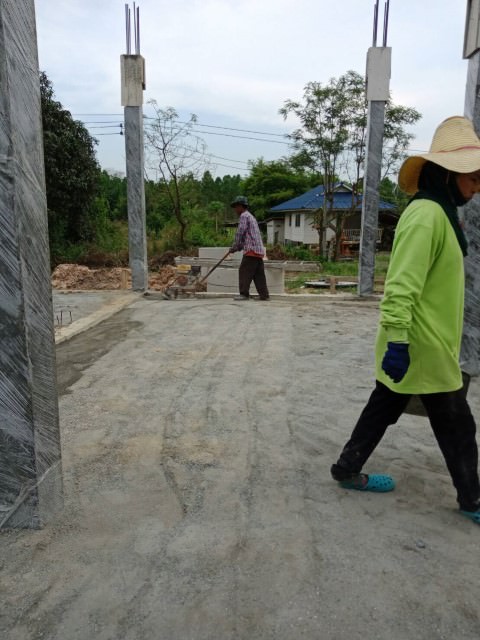
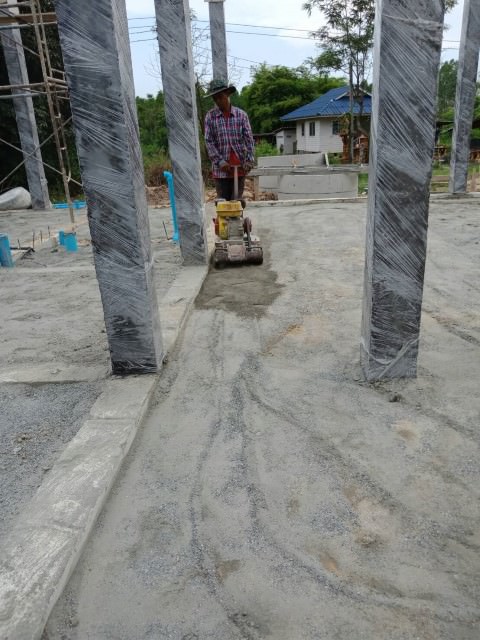
Even this compaction was not hap-hazard – the operator had a recognised plan, so many passes over all parts and in each direction. Without this plan it was possible to have soft spots where the soils were not adequately compacted
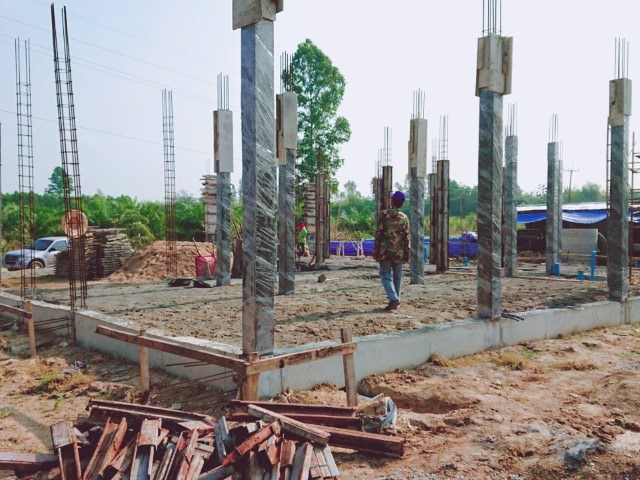
Going along in tandem with this was preparation to cast the ground floor columns. The steel cages were already in place and attached to the ring beam. See the section on casting the columns for more detail on this.
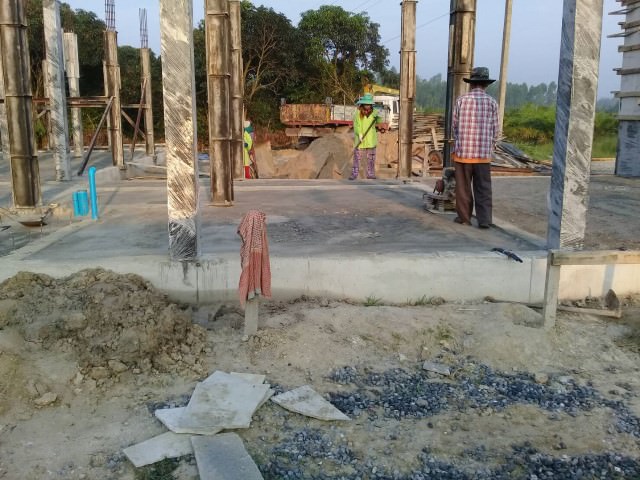
Finally the compacted soils were brought up to parallel with the top of the plinth and support beams. During the final part of the process, those termite control chemical lines were fitted all around the beams, to periodically deliver the chemicals under the house (see Termites).
Next the building team started to lay out the steel re-enforcing into a mesh, tying the rods together with binding wire, covering the whole ground floor area. This mesh would be set into the concrete once it was poured, to give added strength to the floor slab.
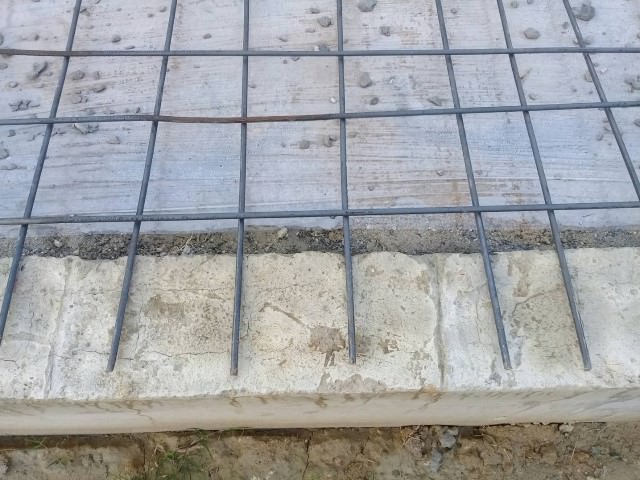
The steel re-enforcing was lifted up off the ground so that it was completely encased in the concrete. This was achieved using the concrete chairs that were made earlier, before the ground floor work had started. The build team went around the finished mesh, attaching sufficient chairs underneath it to lift it all up off the compacted soil and beams.
Once that was completed and checked, the team went around the perimeter of the floor slab, fitting the shuttering to contain the concrete pour. Although the slab was not deep, there was a large mass of wet concrete in place when poured so it was essential that those shutters were adequately braced to prevent shutter collapse and wet concrete going everywhere.
On the day of the slab pour, the team were on hand to carry out all the tasks associated with casting the slab. Making sure the shutter remained strong and in place with no leaks. Directing the wet concrete into position over the steel mesh. Making sure that the mesh did not sag sown against the soil when the weight of the concrete was on it. Vibrating the concrete. Pushing the concrete into the corners. Levelling the poured concrete.
The pour commenced when the first delivery was made. The total volume was worked out, and translated into cubic meters of concrete. The order was placed and the mixer trucks started to arrive. Each load was poured into the slab area and the build team got to work spreading it out.
The vibrator was used to make sure the concrete flowed around the steel mesh and there were no air pockets trapped in the concrete.
The mixer trucks were scheduled to come at regular intervals until all the concrete had been placed and the slab was completed, so that there were no dry joints in the slab.
The final part of the process involved shunting a straight edged board back and forth over the top of the pour to level it. This was a judgement of eye, not equipment but the foreman had several years’ experience of this important part of the slab pour and it went well.
Once the slab was poured, vibrated and levelled, the team covered the concrete over with plastic sheeting and the curing process began. Periodically, the slab was lightly sprayed with water to prolong the hardening process of the concrete.